VIII.2.1 Pompeii. Casa di Championnet I.
Part
1 Part 2 Part 3 Part 4 Part 5 Part 6
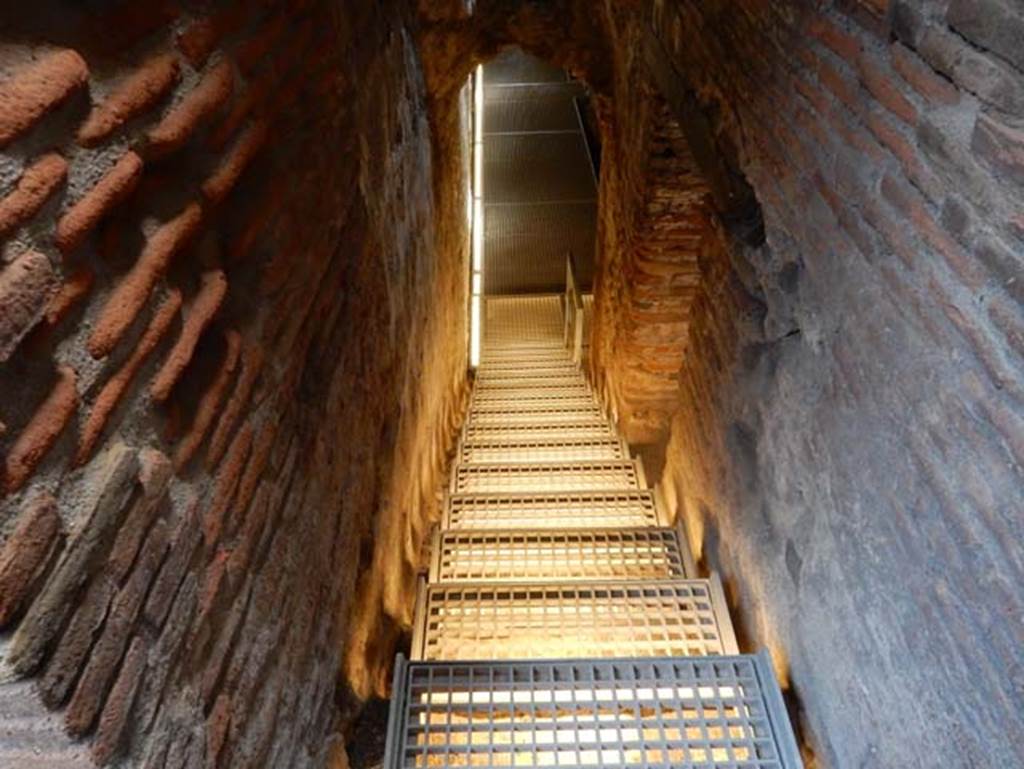
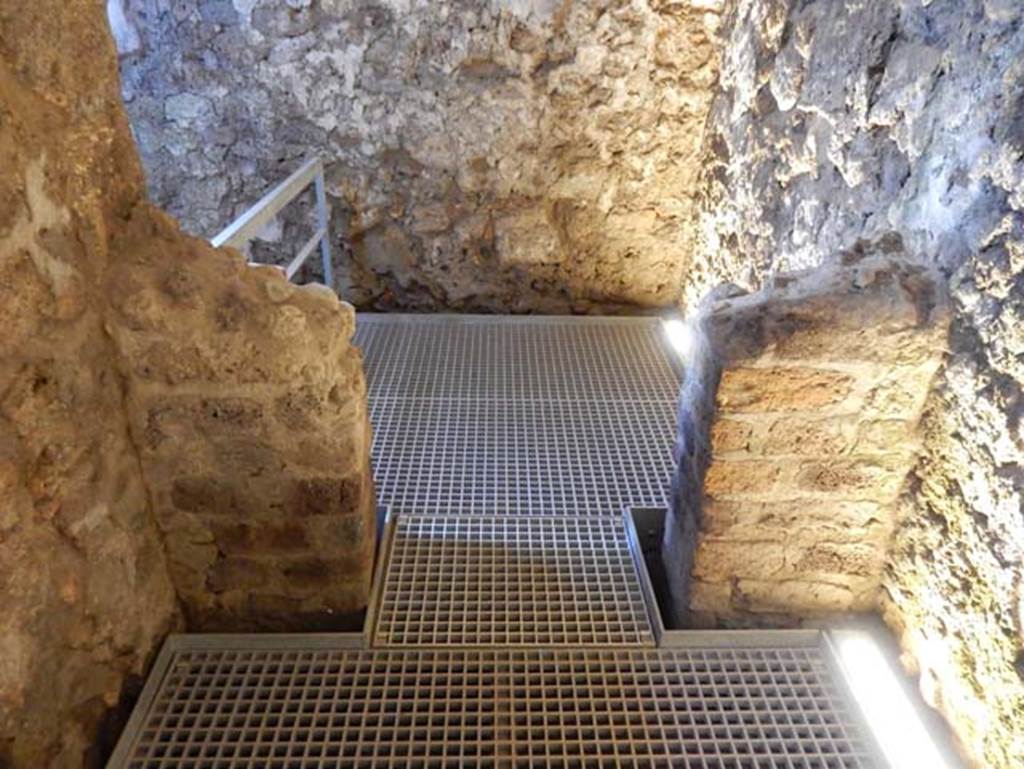
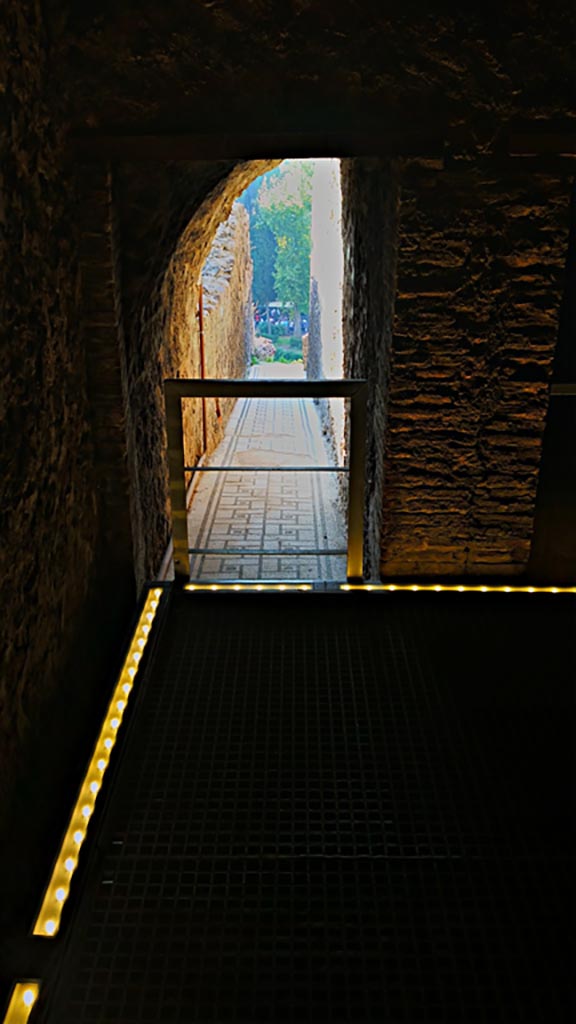
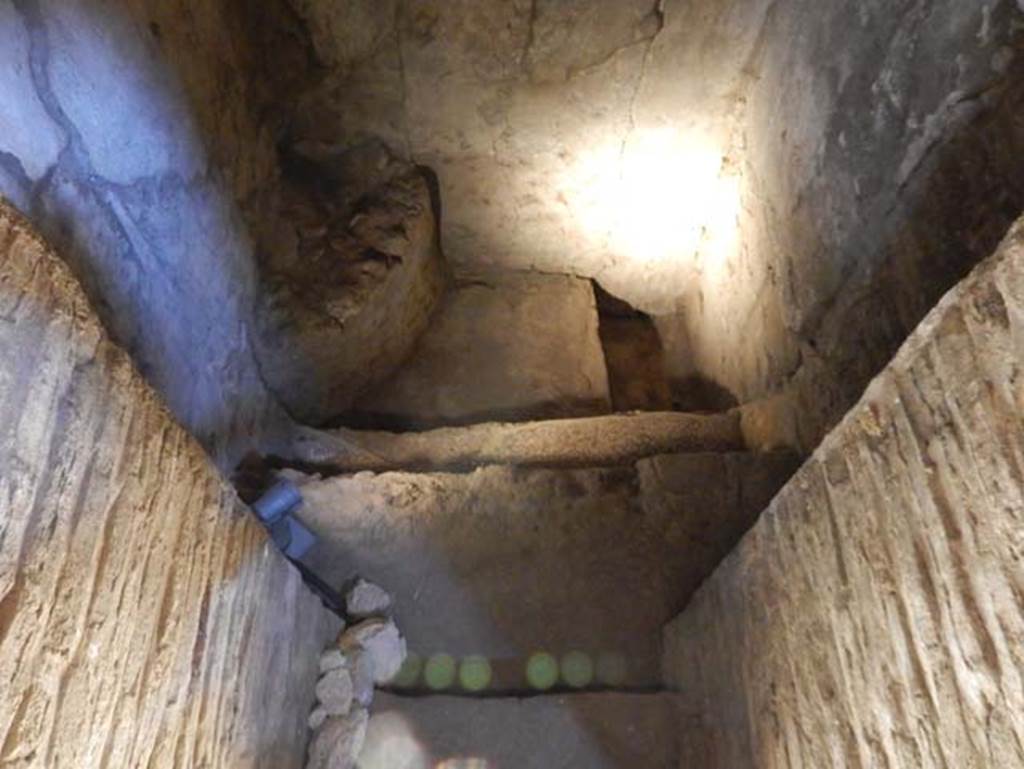
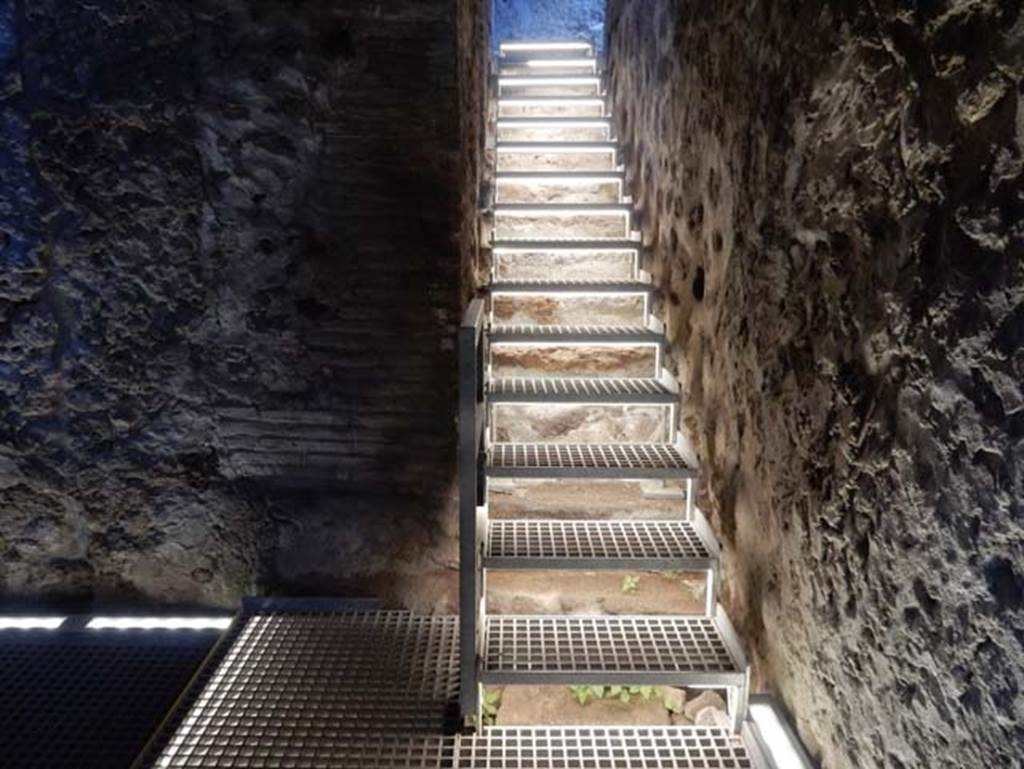
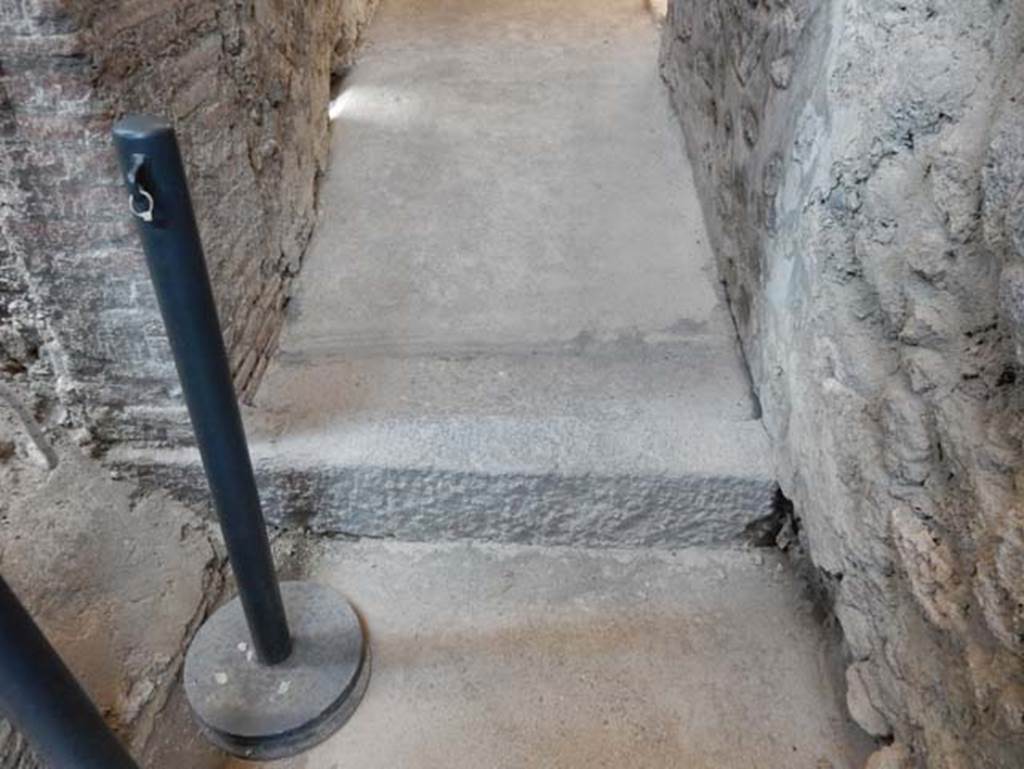
VIII.2.1 Pompeii. May 2018. Looking down steps to cryptoporticus on lower level 1. Photo courtesy of Buzz Ferebee.
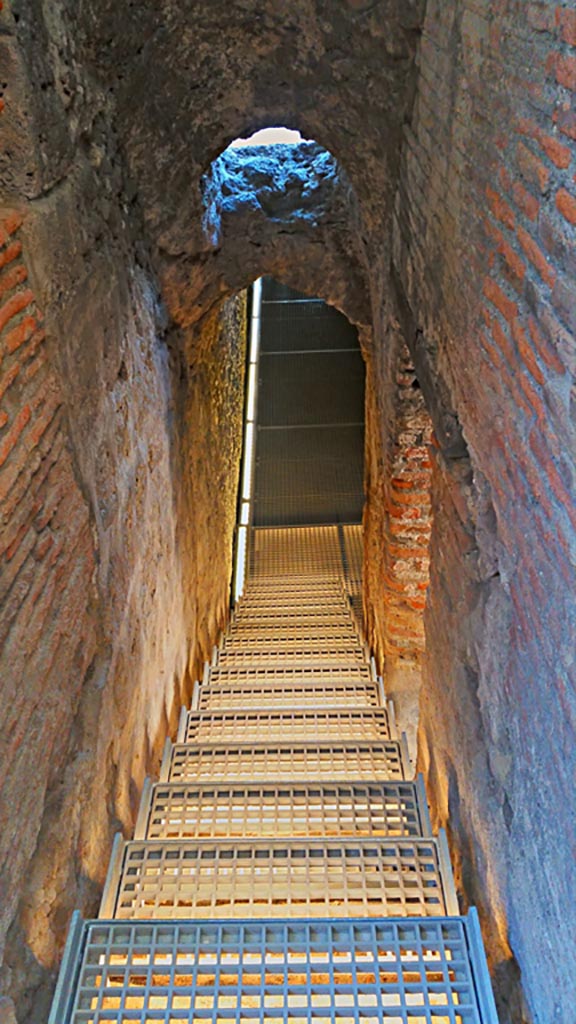
VIII.2.1 Pompeii. 2017/2018/2019
Looking down steps
to cryptoporticus on lower level 1. Photo courtesy of Giuseppe
Ciaramella.
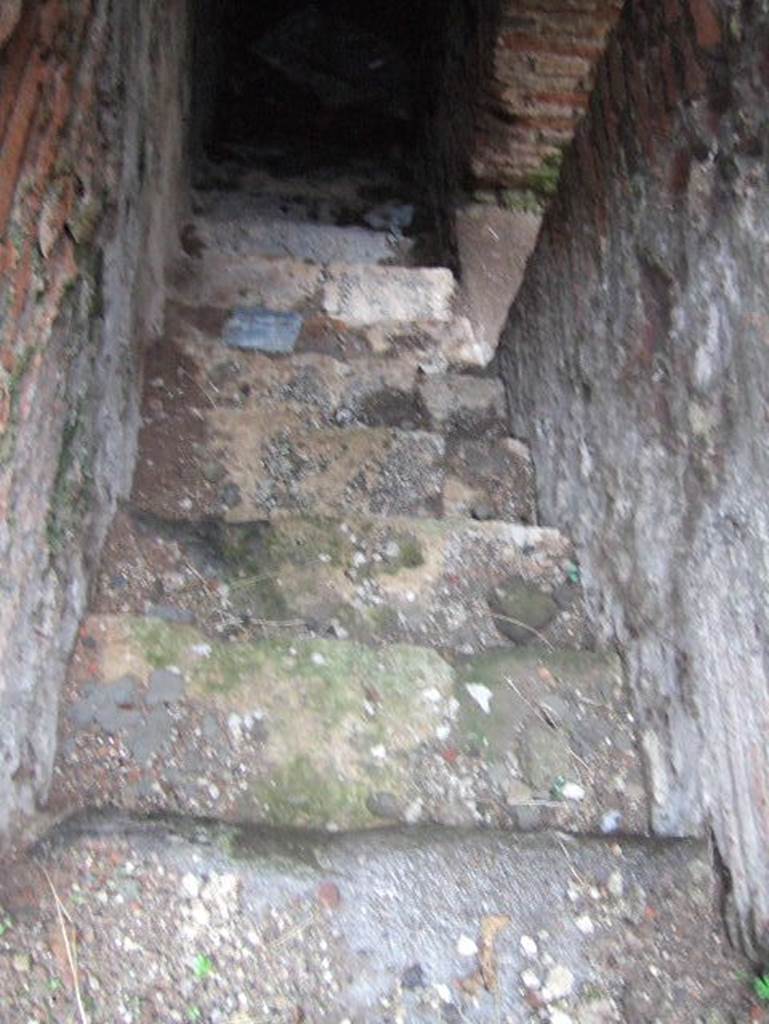
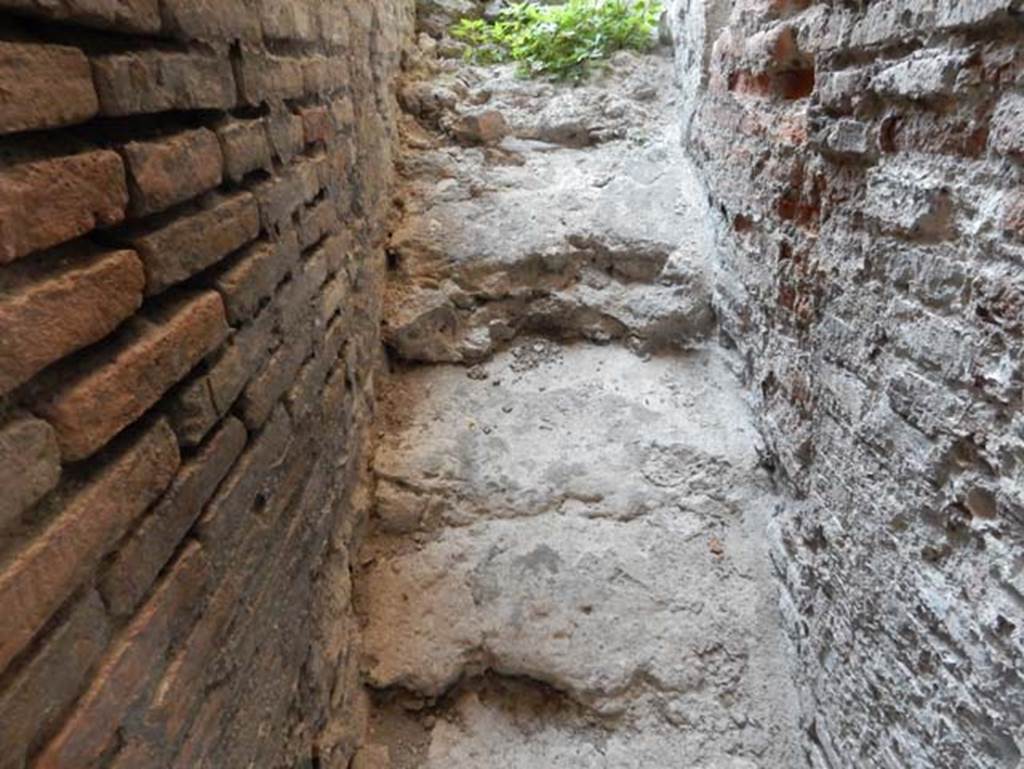
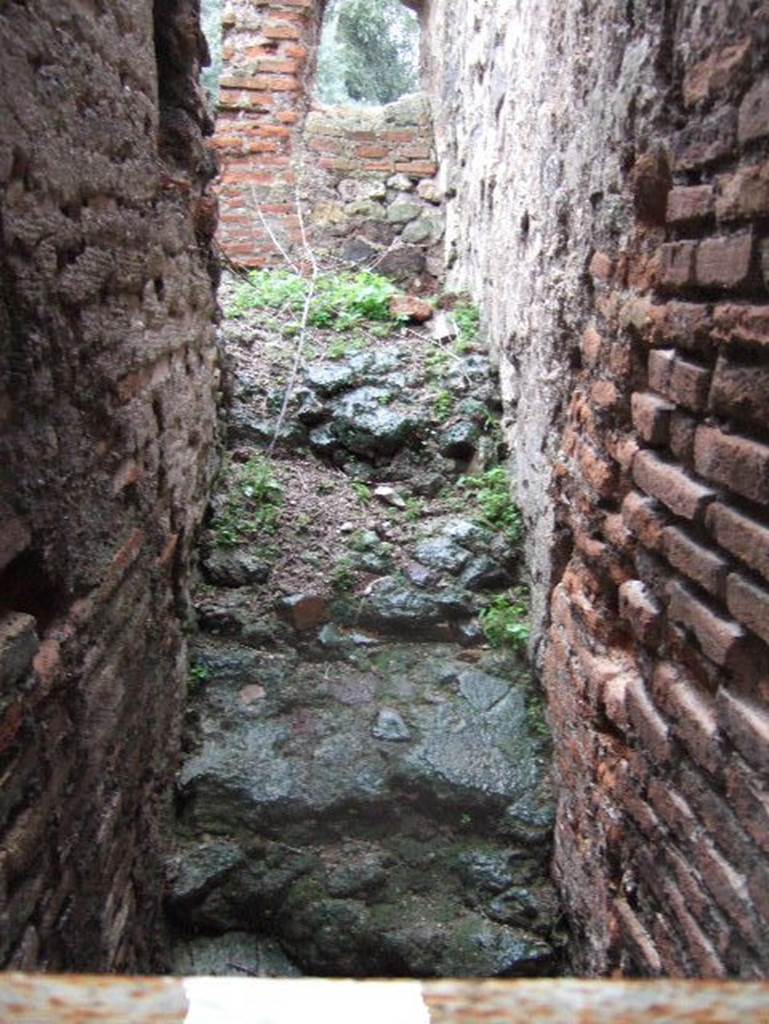
VIII.2.1 Pompeii. December 2005. Steps to lower level 1.
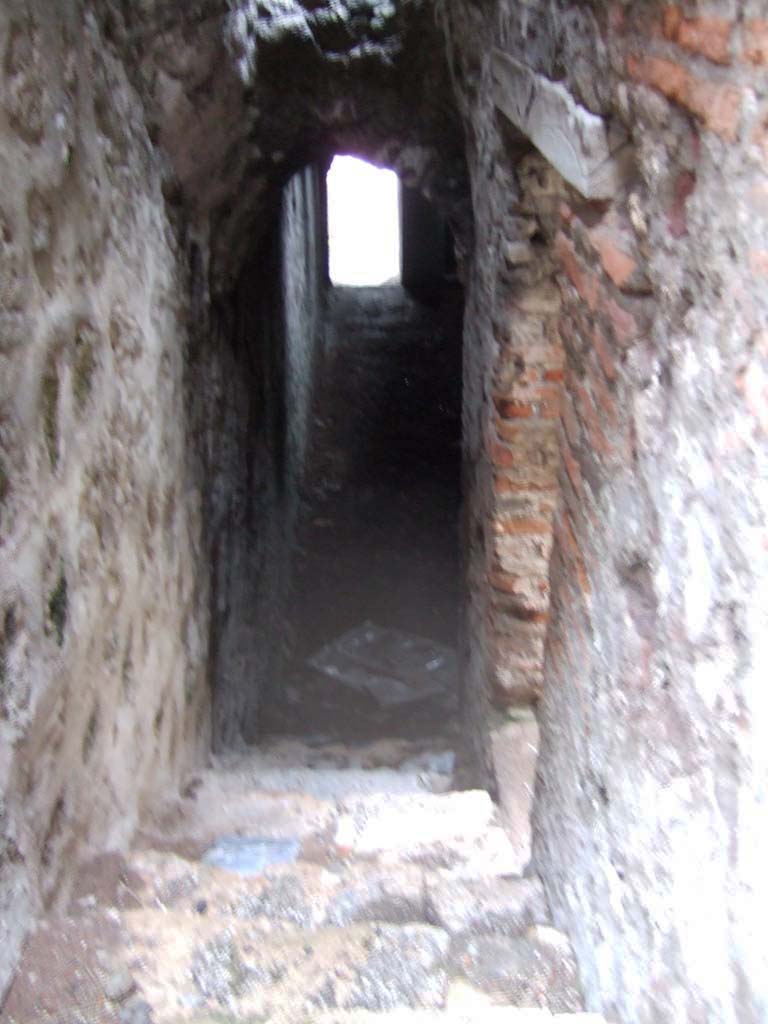
VIII.2.1 Pompeii. December 2005. Steps to lower level 1.
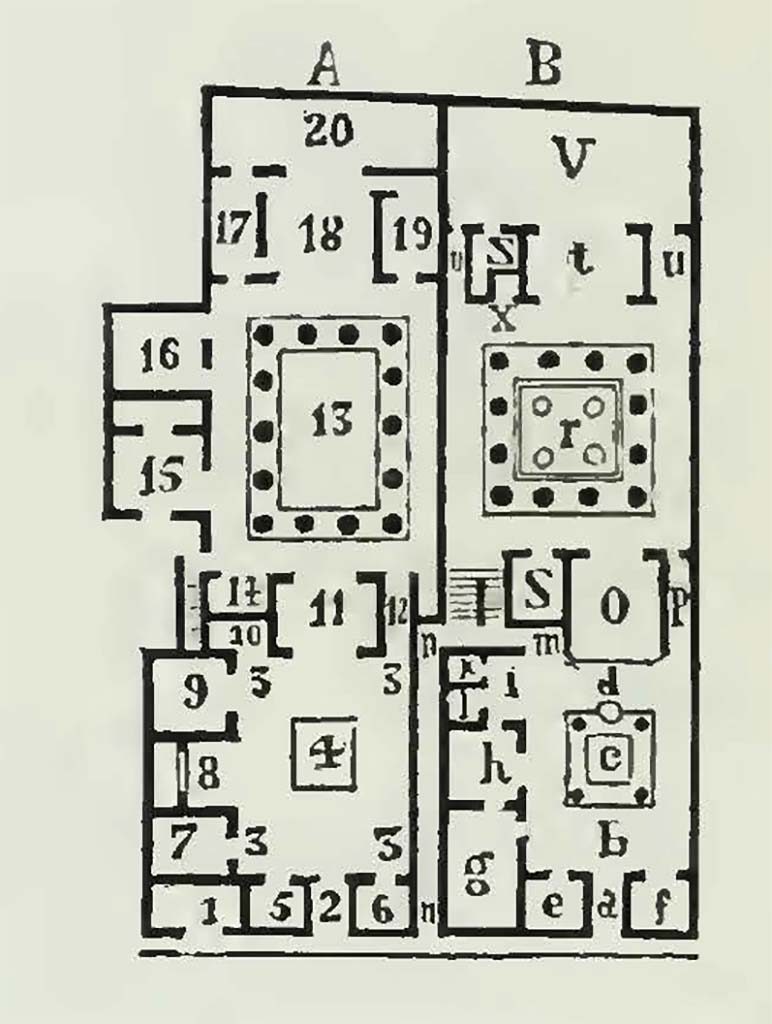
VIII.2.1/3 Pompeii. 1855 plan by Breton. House A = VIII.2.3, House B = VIII.2.1. North is at the bottom of the plan.
The cryptoporticus of the lower level 1 is under the portico/peristyle (r) in the house on the right of the above plan. (p. 341)
According to Breton –
Of the rooms which composed it, only one is visible, it is 8m.80 by 4m.90. (28ft 10 x 16ft 1).
Its floor is composed of charming designs in black and white mosaic. In the black panels of the walls were painted some masks, and fantastique animals.
Above was an elegant
stucco cornice, and then a painted vault, nearly entirely destroyed.” (p.342)
See Breton, Ernest.
1855. Pompeia, decrite et dessine :
Seconde édition. Paris, Baudry, (p.340-2, plan on p. 340)
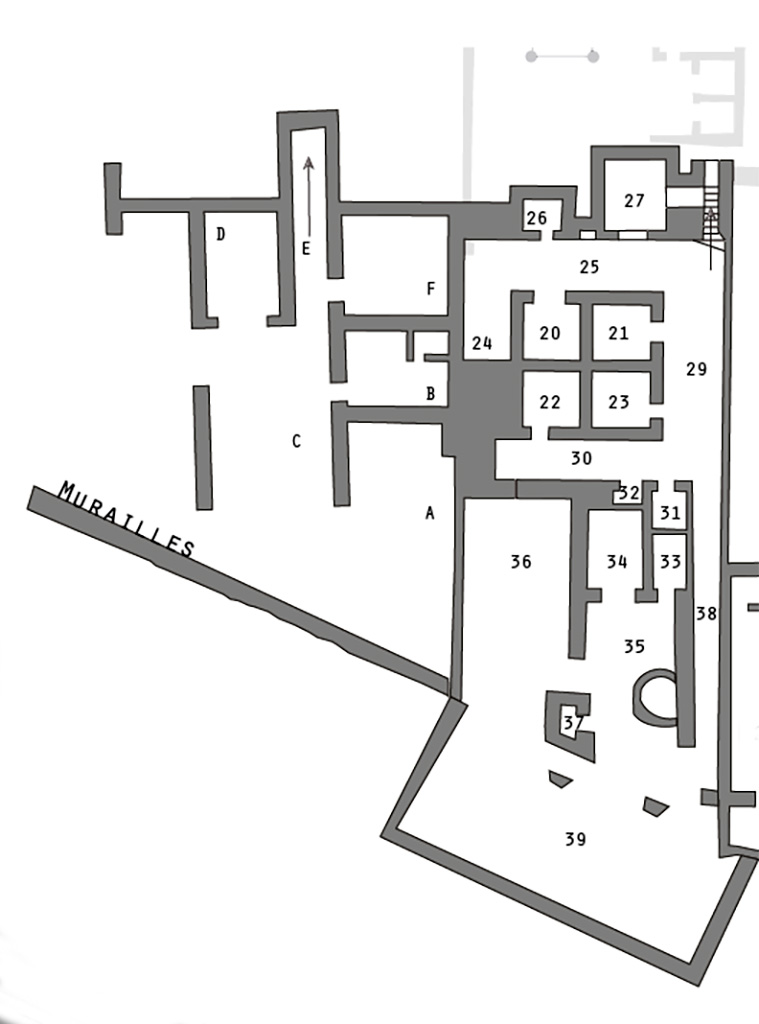
VIII.2.1 Pompeii. Plan of lower level 1, on right. On the left are rooms of VIII.2.A, linked to VIII.2.1
See Zanella S.,
2019. La caccia fu buona: Pour une histoire des fouilles à Pompéi de Titus à
l’Europe. Naples : Centre Jean Bérard, Planche II.
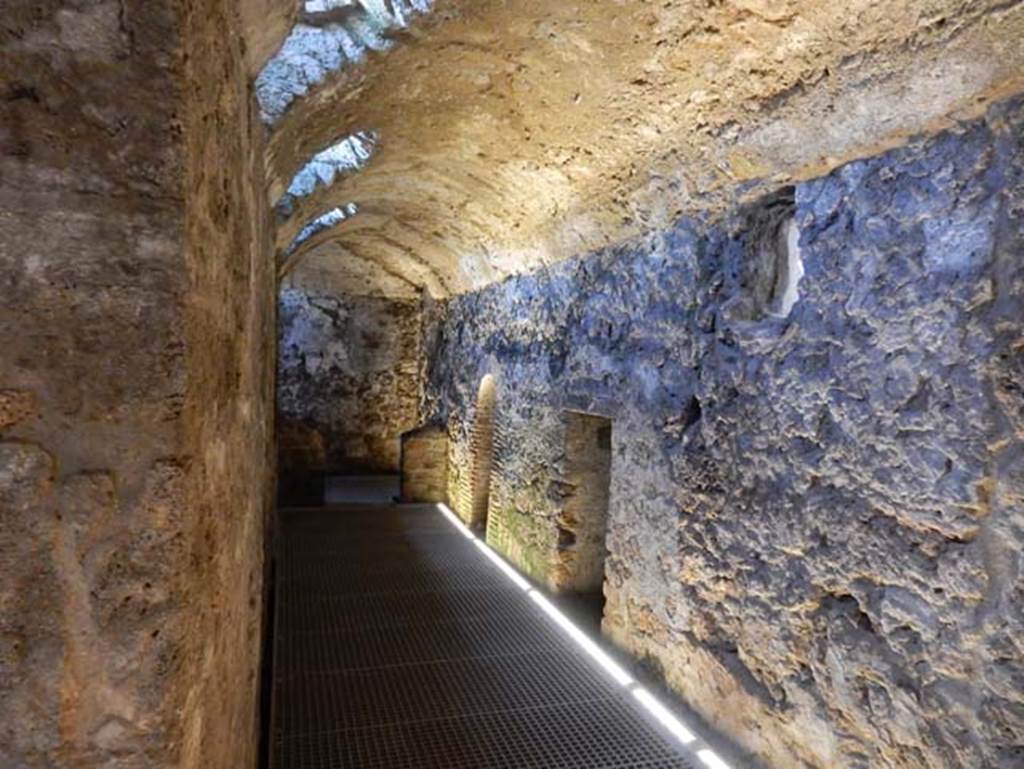
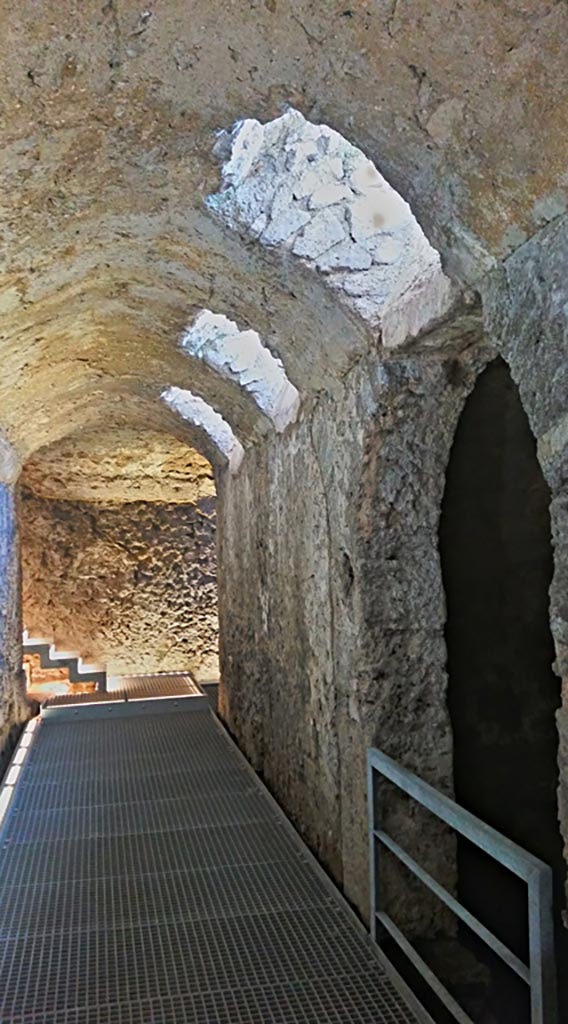
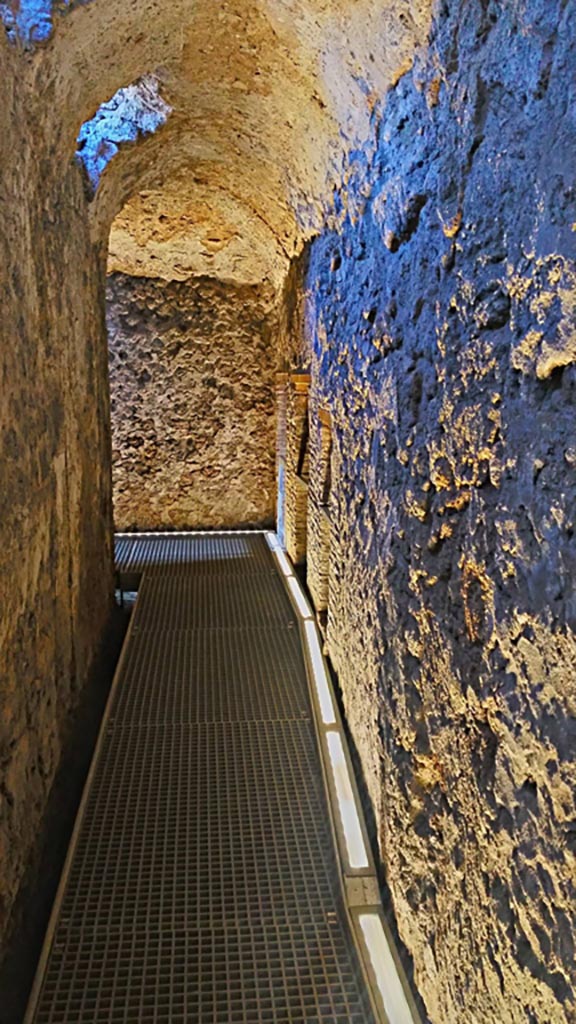
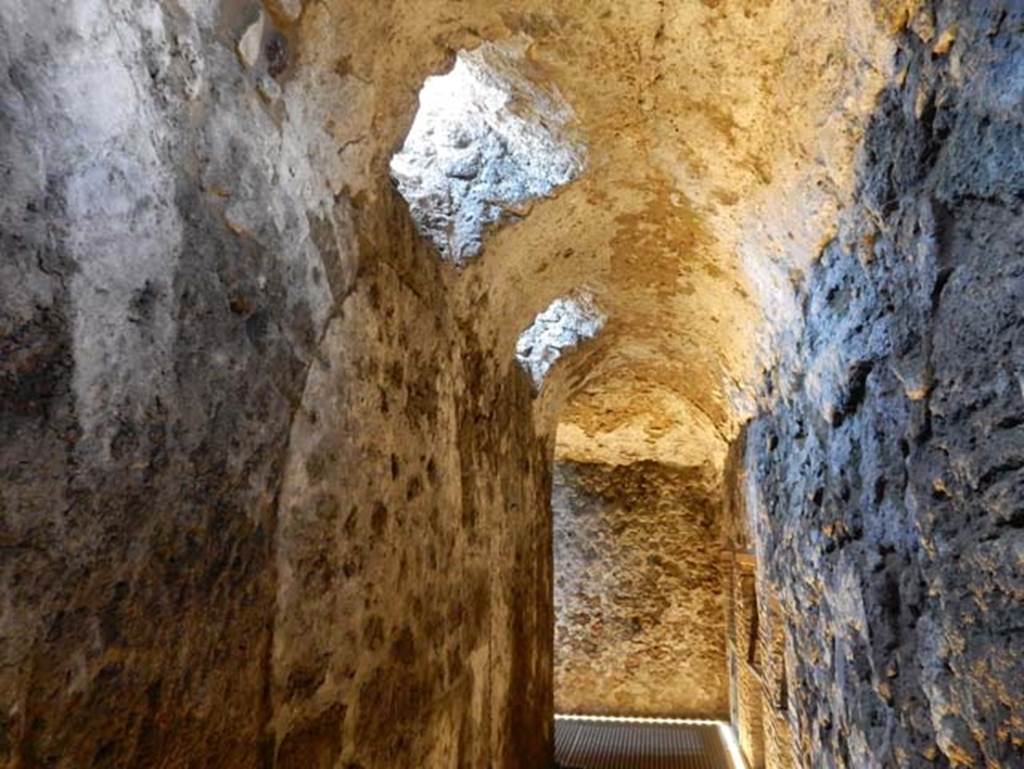
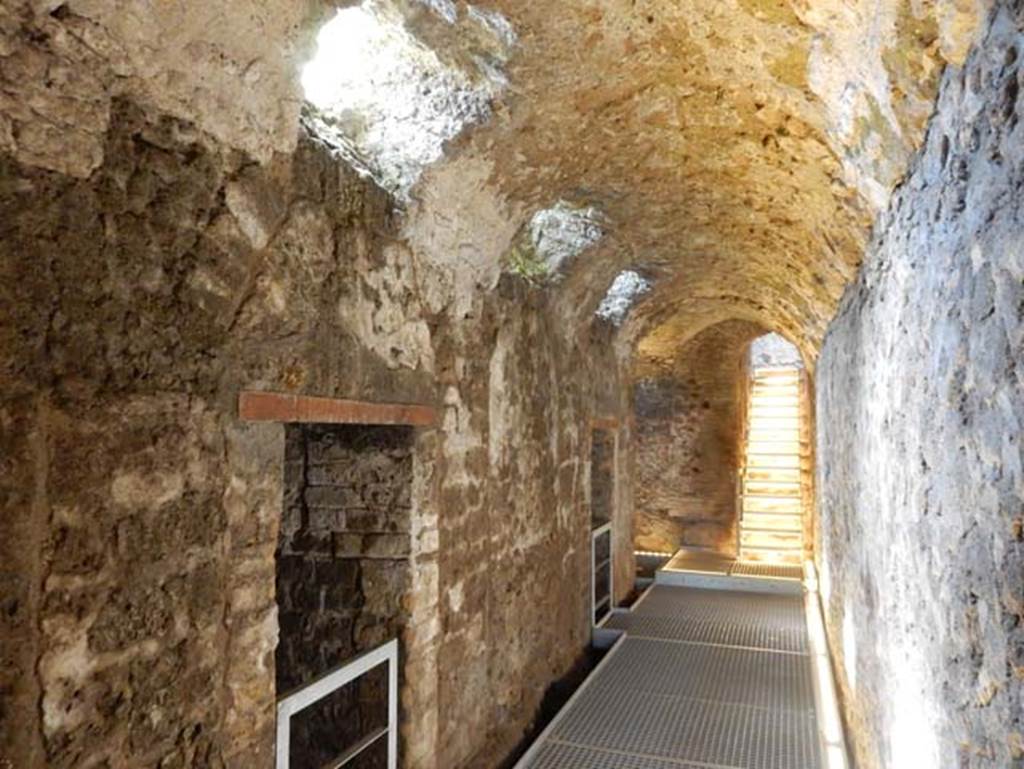
VIII.2.1 Pompeii. May 2018. Lower level 1, looking west along corridor/cryptoporticus 25. Photo courtesy of Buzz Ferebee.
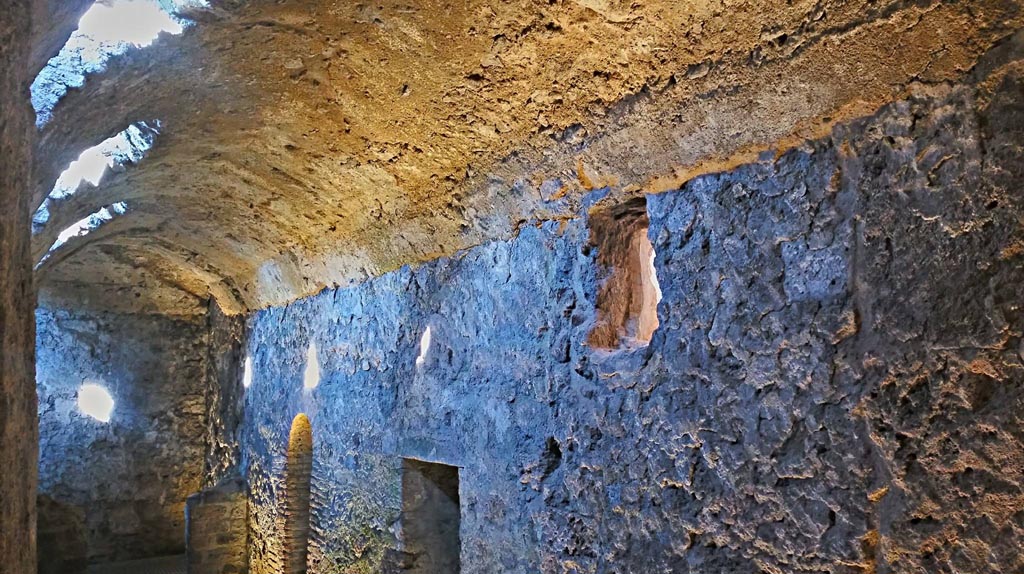
VIII.2.1 Pompeii. 2017/2018/2019.
Lower level 1, looking west along upper north wall in corridor/cryptoporticus
25. Photo courtesy of Giuseppe
Ciaramella.
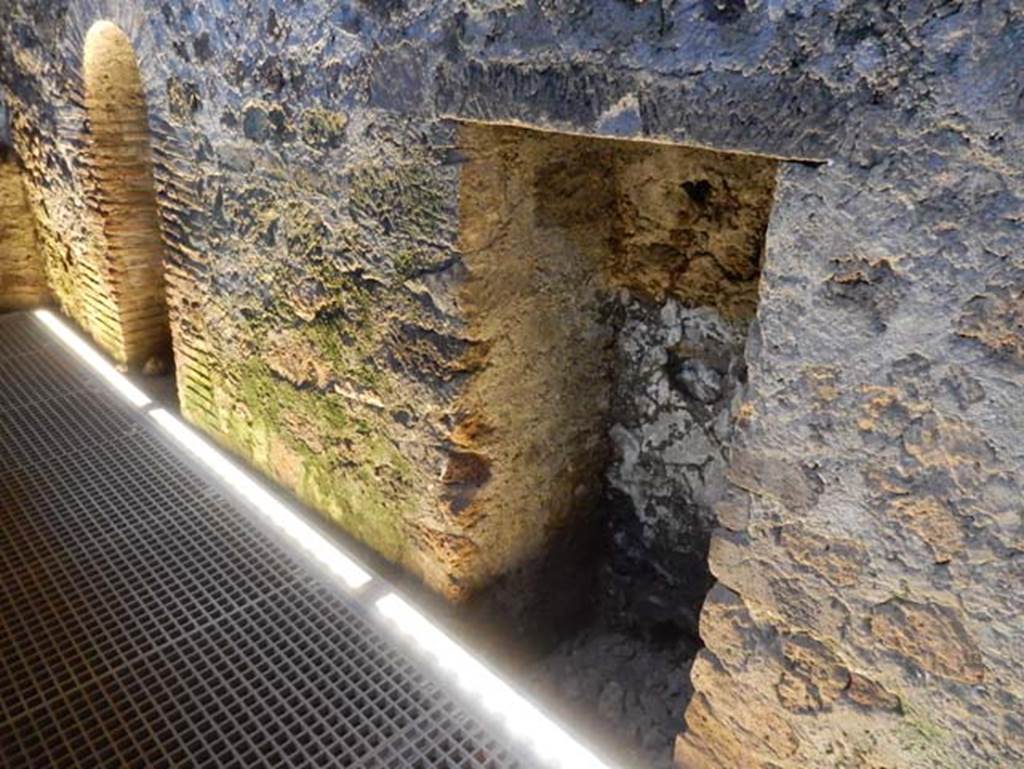
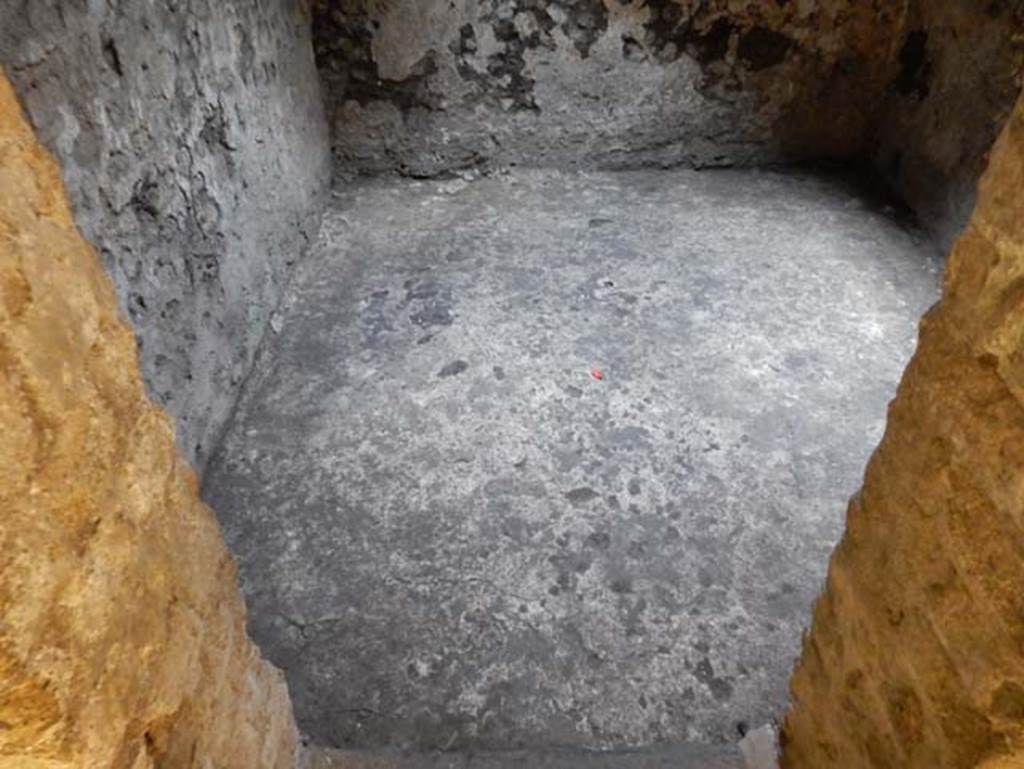
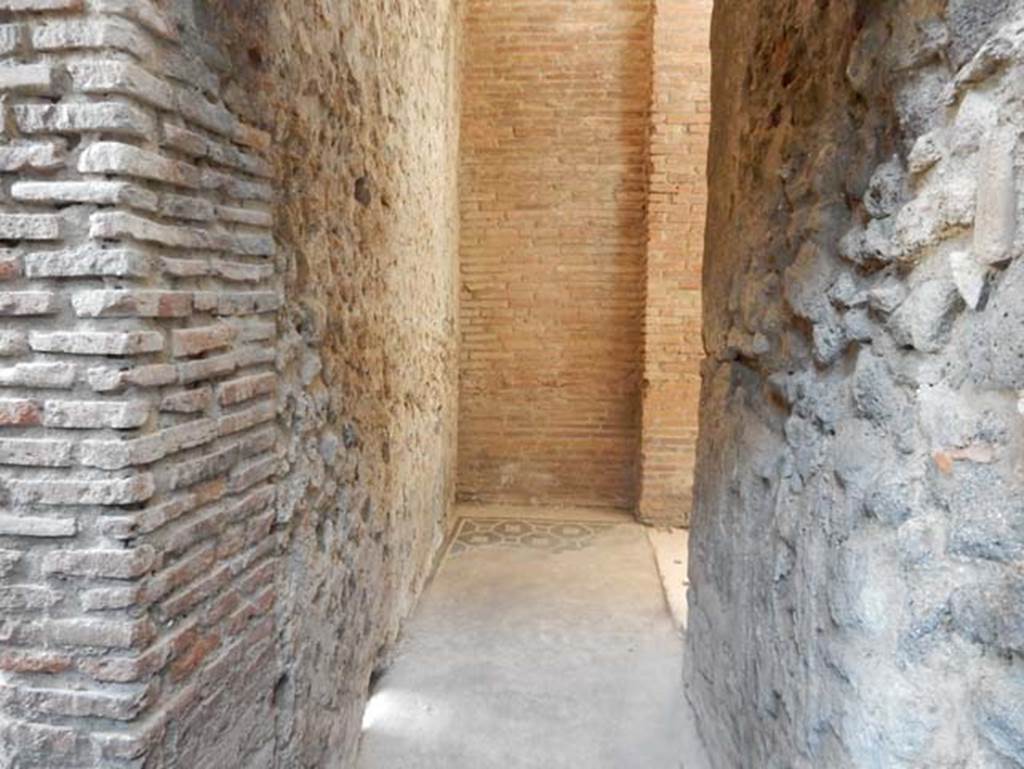
VIII.2.1 Pompeii. May 2018.
Blocked door/recess in north wall of corridor/cryptoporticus 25, leading west. Photo courtesy of Buzz Ferebee.
VIII.2.1 Pompeii. May 2018.
Lower level 1, room 27, looking towards south-west corner, from doorway half-way down the stairs to lower level 1.
Photo courtesy of Buzz Ferebee.
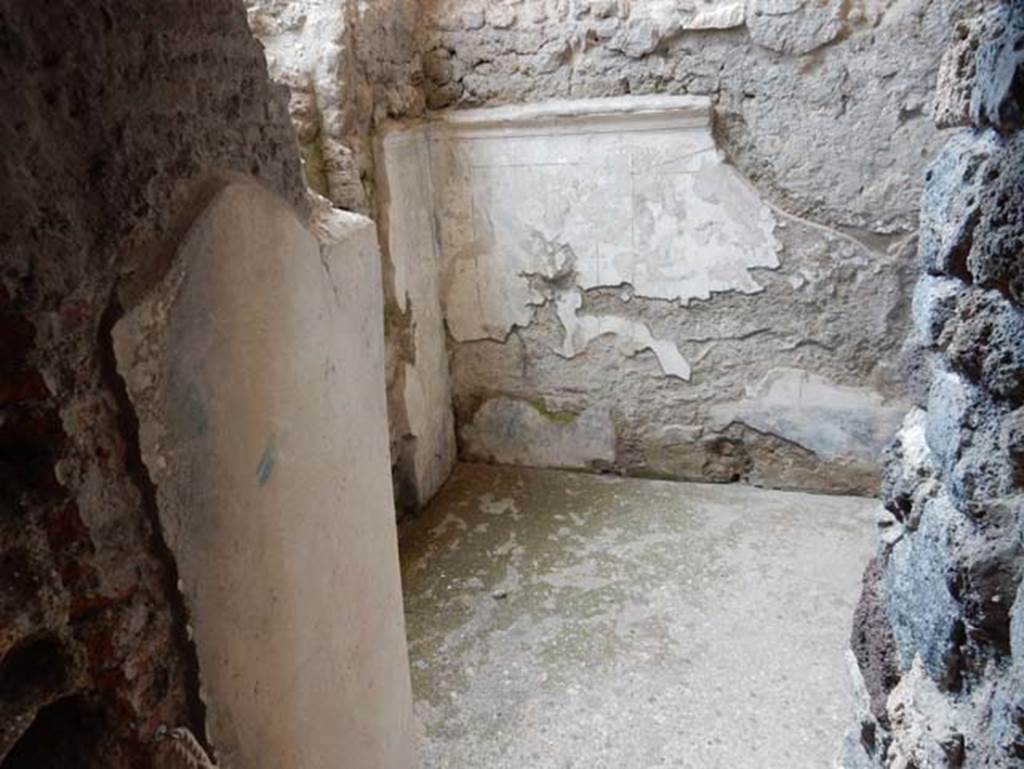
VIII.2.1 Pompeii. May 2018.
Lower level 1, room 27, looking west from doorway, half-way down the stairs to lower level. Photo courtesy of Buzz Ferebee.
See Duban F. Album de dessins d'architecture effectués
par Félix Duban pendant son pensionnat à la Villa Medicis, entre 1823 et 1828:
Tome 2, Pompéi, pl. 52.
INHA Identifiant numérique NUM PC 40425 (2)
https://bibliotheque-numerique.inha.fr/idurl/1/7157 « Licence Ouverte
/ Open Licence »
Etalab
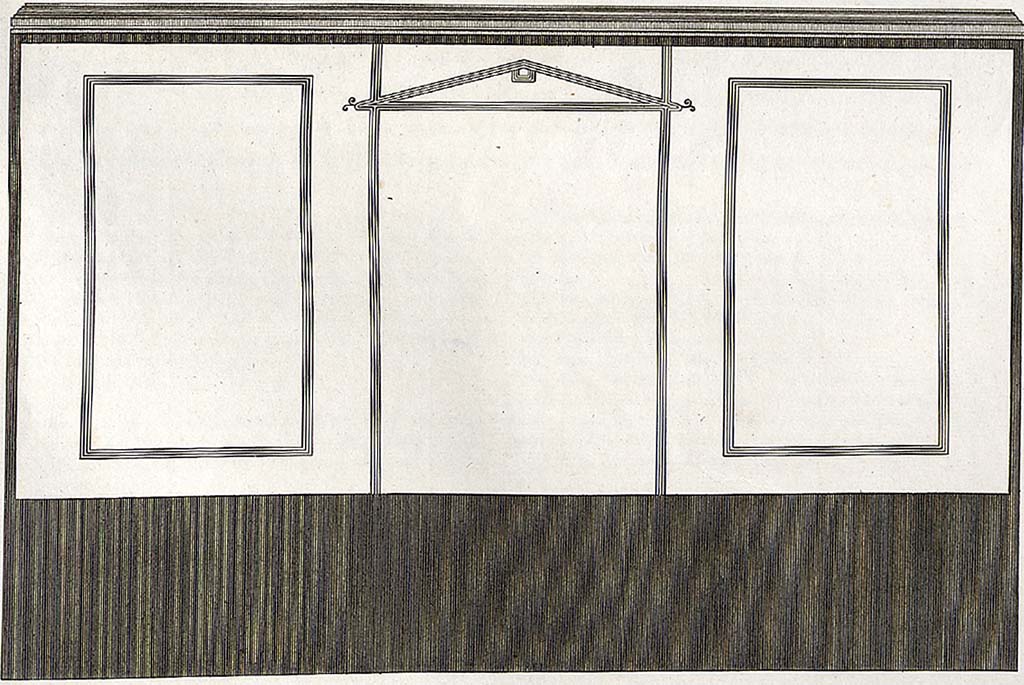
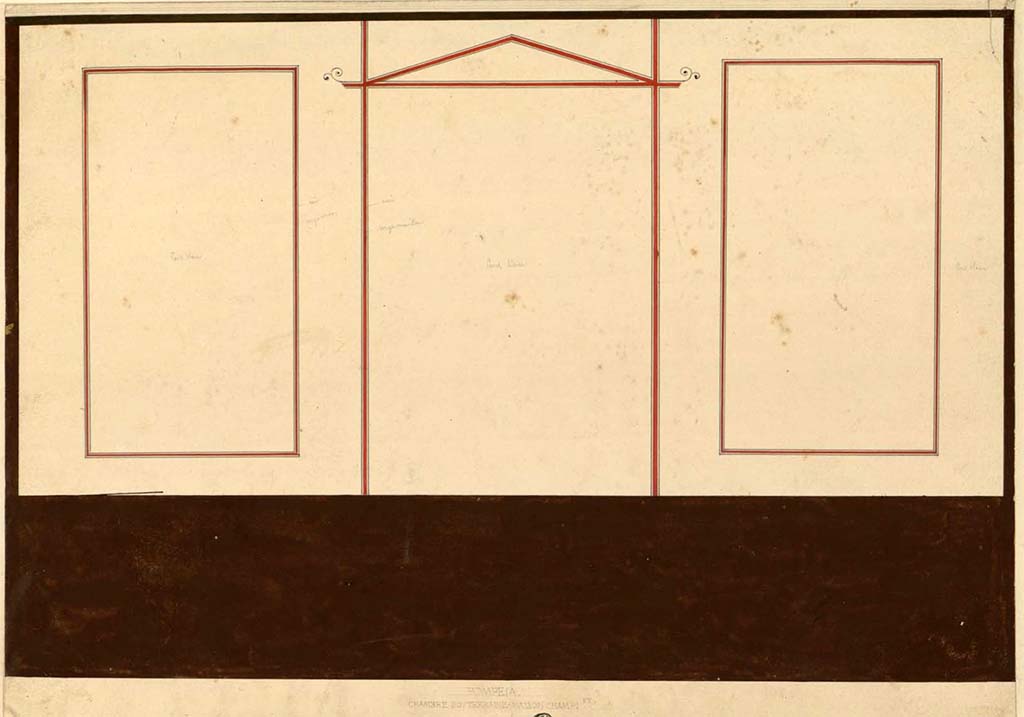
VIII.2.1 Pompeii. 1824 drawing by Mazois of wall in room 27, (ambiente 24 in PPP, room next to stairs in Schefold WP).
See Mazois, F., 1824. Les Ruines de Pompei: Second Partie. Paris: Firmin Didot. (Plate XXIII fig 5).
See Schefold, K., 1957. Die Wände Pompejis. Berlin: De Gruyter. (p. 210).
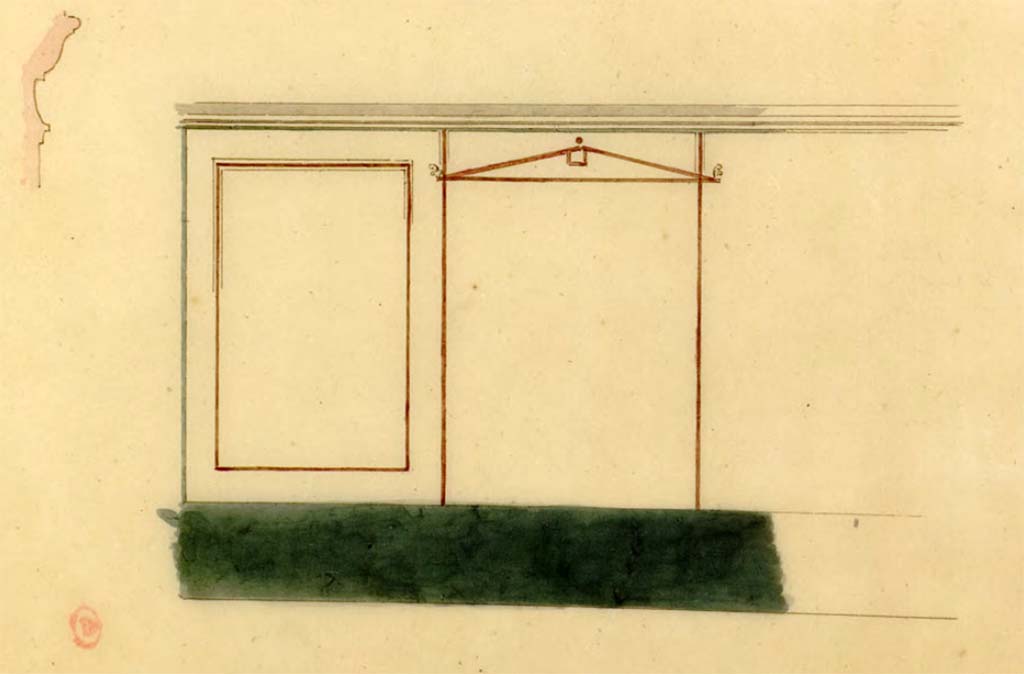
VIII.2.1 Pompeii. c.1817.
Watercolour/unfinished sketch by Chenavard of wall in room next to stairs.
See Chenavard, Antoine-Marie (1787-1883) et al. Voyage
d'Italie, croquis Tome 3, pl. 119 lower.
INHA Identifiant
numérique : NUM MS 703 (3). See Book on INHA
Document placé
sous « Licence Ouverte / Open Licence » Etalab
VIII.2.1 Pompeii. May 2018.
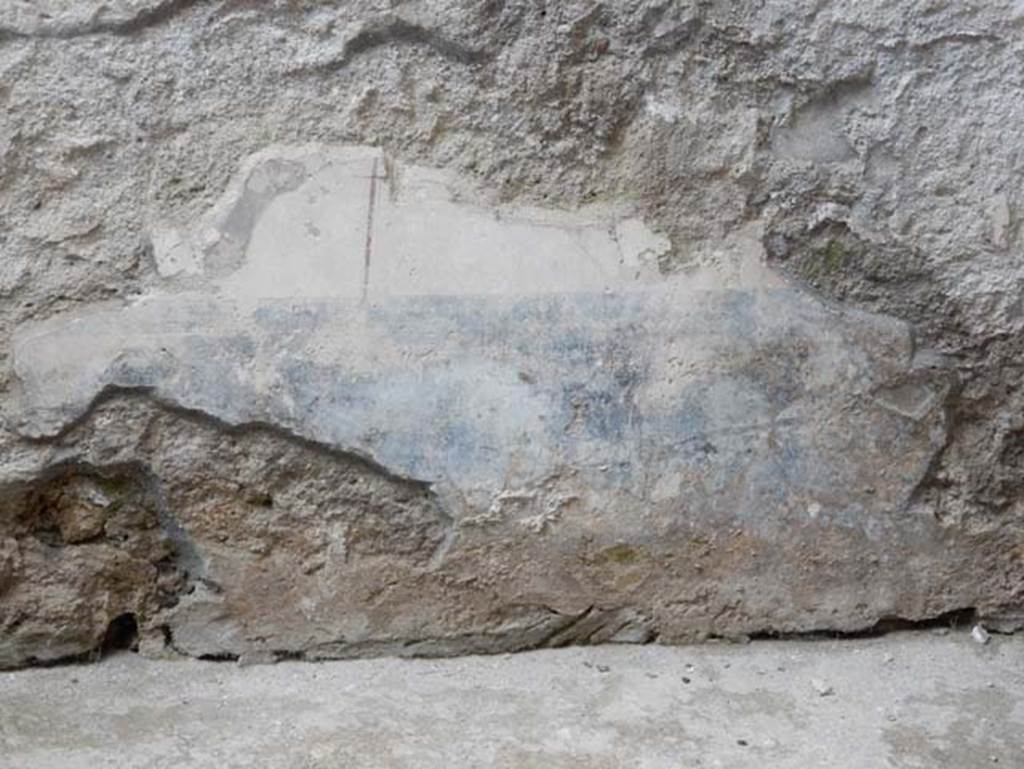
Lower level 1, room 27, remains of black painted zoccolo of west wall. Photo courtesy of Buzz Ferebee.
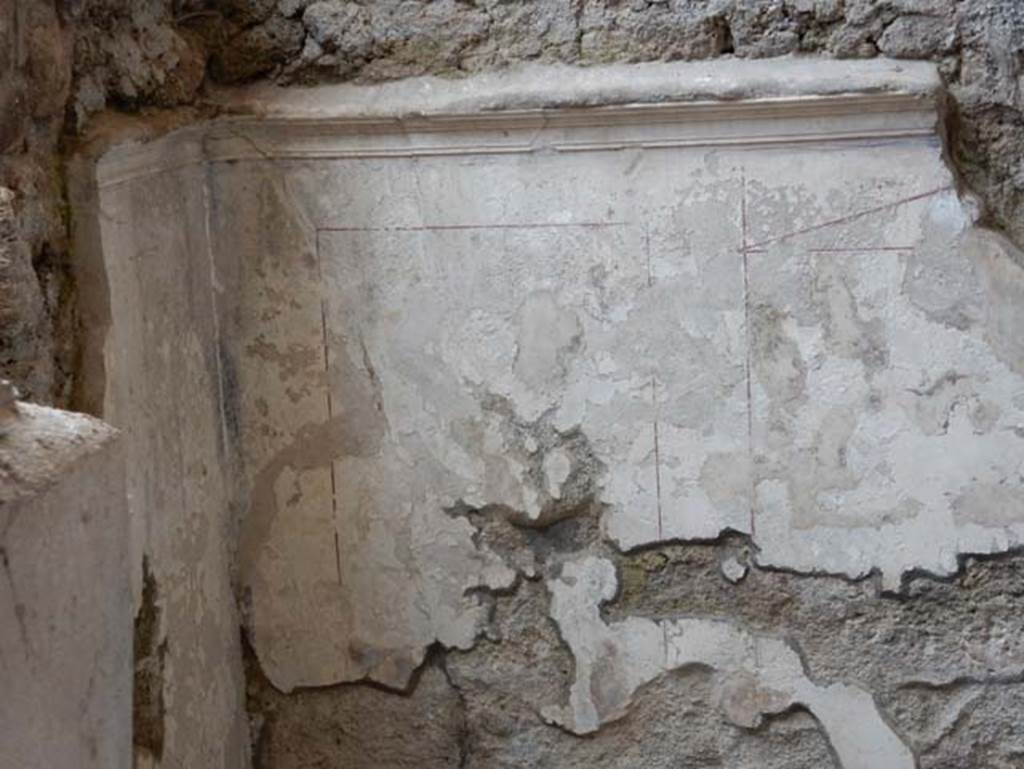
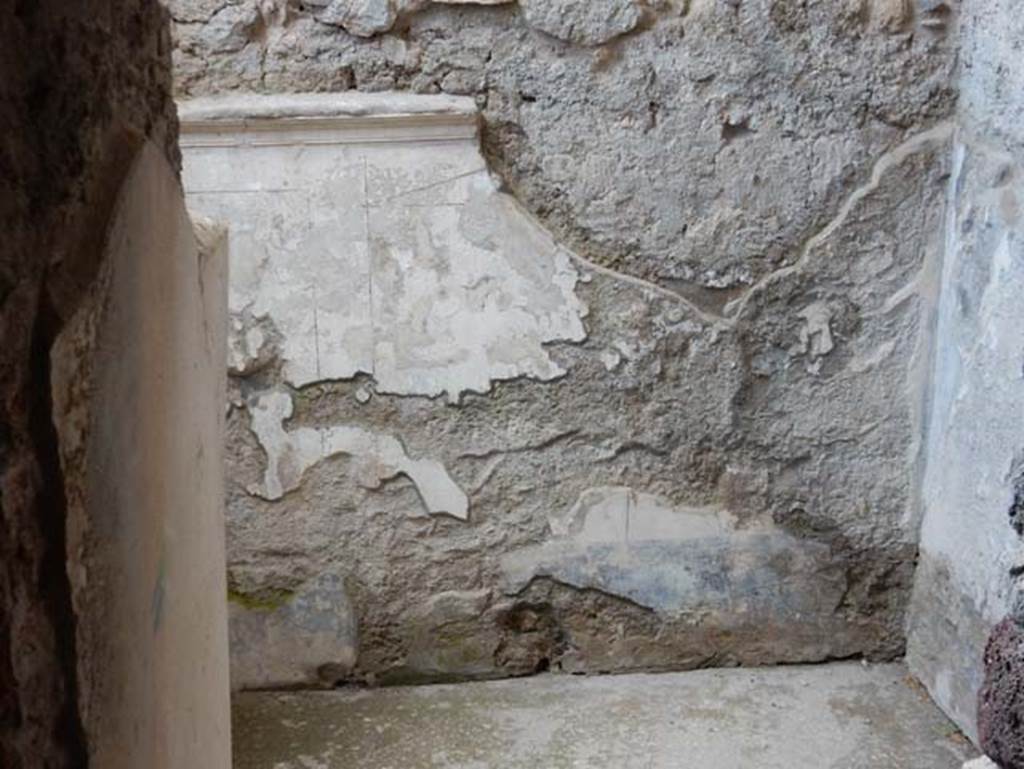
VIII.2.1 Pompeii. May 2018. Lower level 1, room 27, west wall in south-west corner. Photo courtesy of Buzz Ferebee.
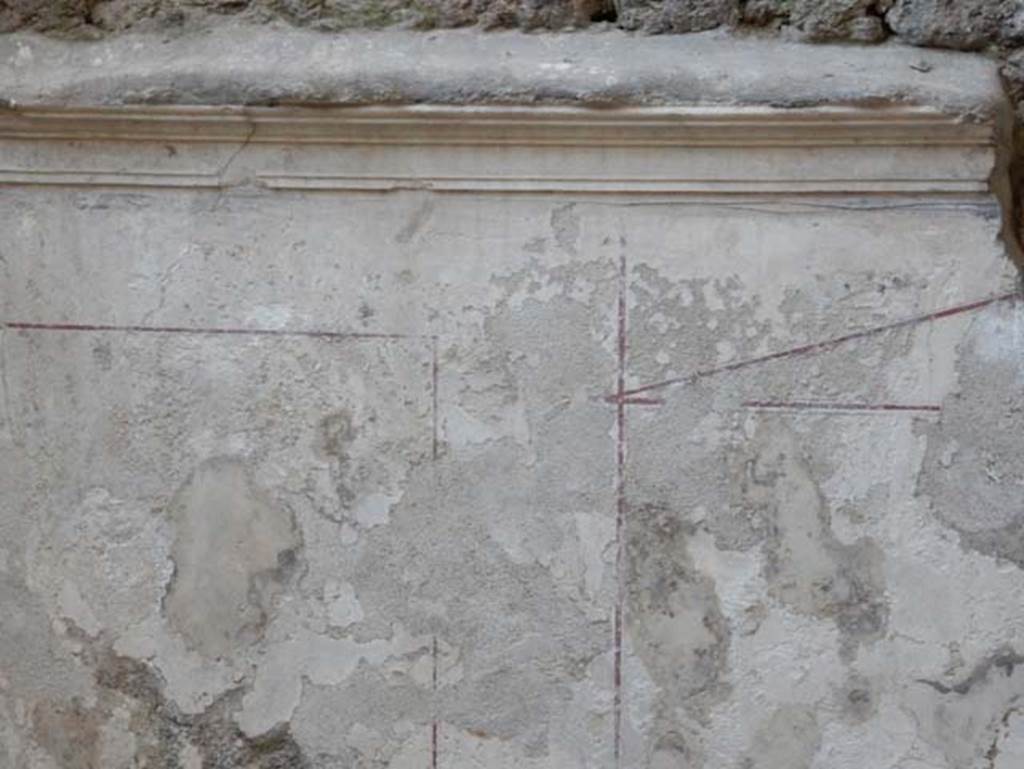
VIII.2.1 Pompeii. May 2018. Lower level 1, detail from west wall of room 27. Photo courtesy of Buzz Ferebee.
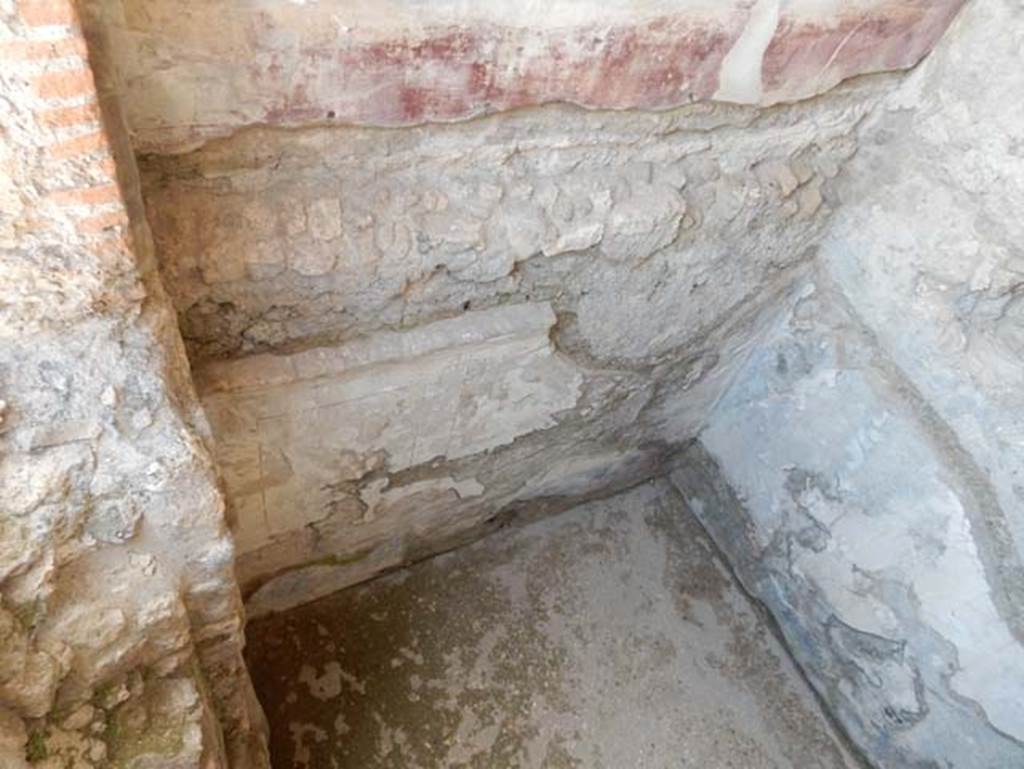
VIII.2.1 Pompeii. May 2018.
Lower level 1, from ground floor, looking towards west wall and north-west corner of lower room 27. Photo courtesy of Buzz Ferebee.
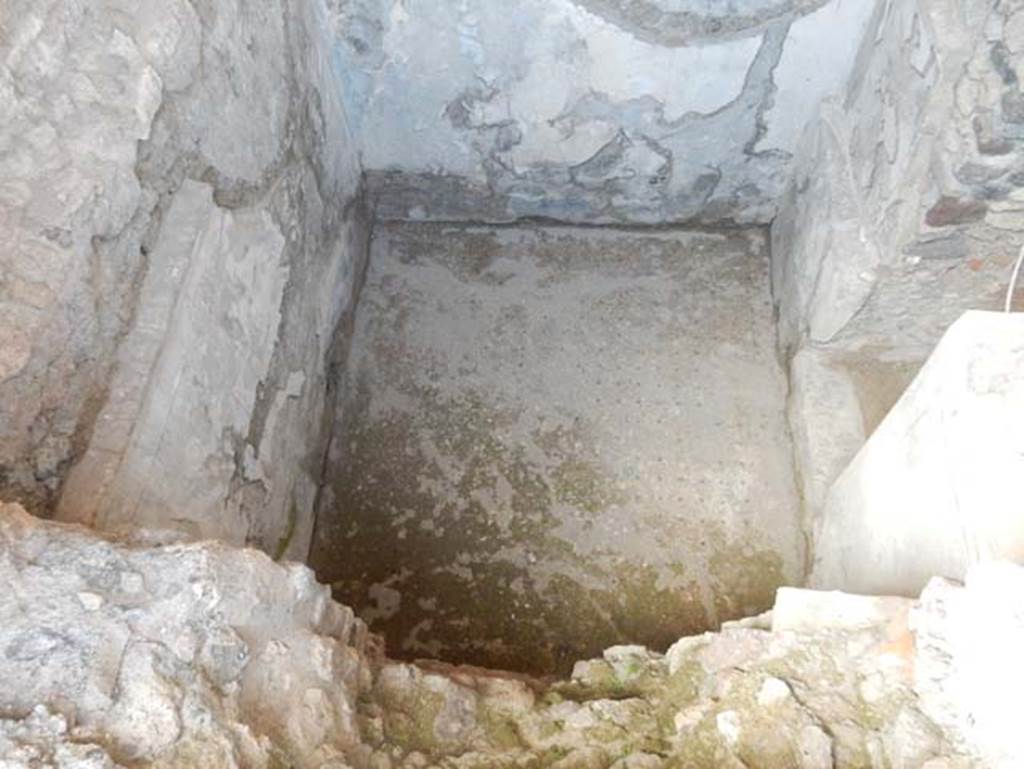
VIII.2.1 Pompeii. May 2018.
Lower level 1, from ground floor, looking towards north wall of lower room 27. Photo courtesy of Buzz Ferebee.
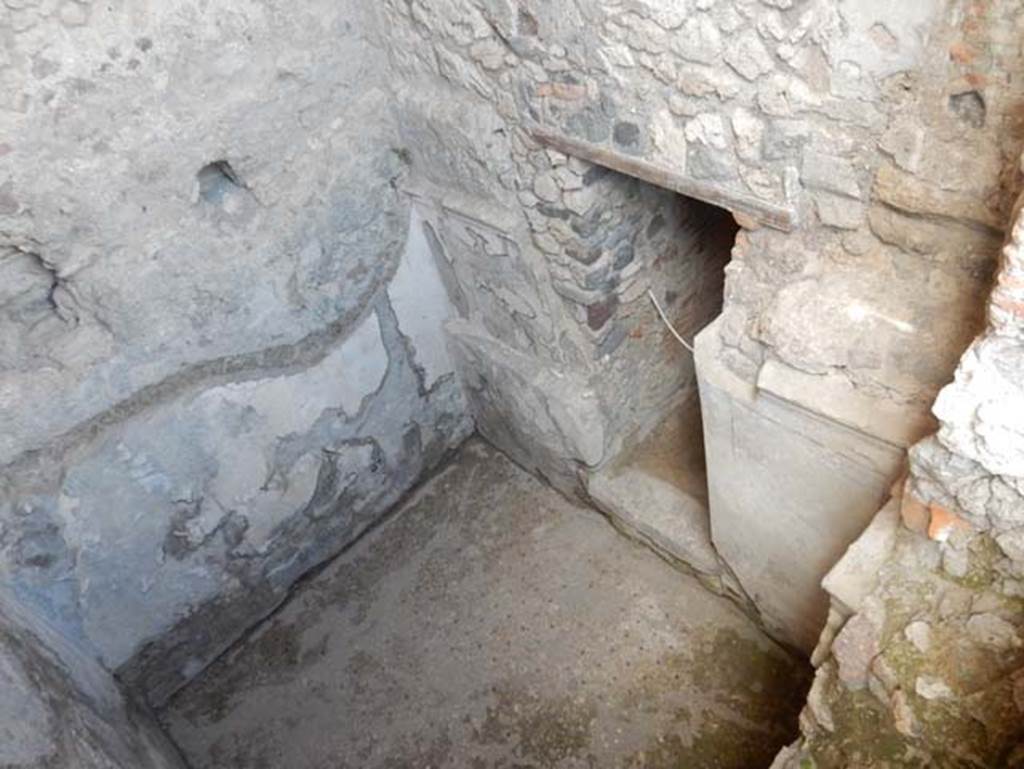
VIII.2.1 Pompeii. May 2018.
Lower level 1, from ground floor, looking towards north-east corner, and doorway in east wall in lower room 27.
This doorway now leads to the middle of the stairs down from the ground floor. Photo courtesy of Buzz Ferebee.
VIII.2.1 Pompeii. May 2018.
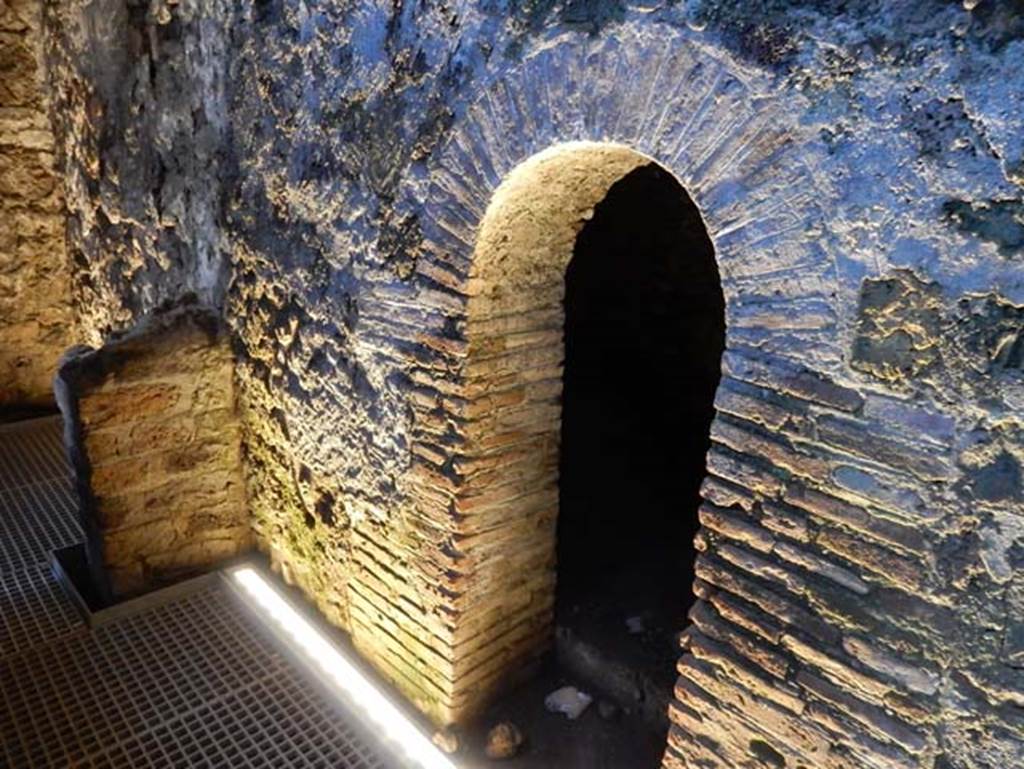
Arched doorway to area 26 in north wall of corridor/cryptoporticus 25, leading west. Photo courtesy of Buzz Ferebee.
VIII.2.1 Pompeii. May 2018. West end of corridor/cryptoporticus 25. Photo courtesy of Buzz Ferebee.
VIII.2. Pompeii. May 2018. Looking south at west end of corridor/cryptoporticus 24. Photo courtesy of Buzz Ferebee.
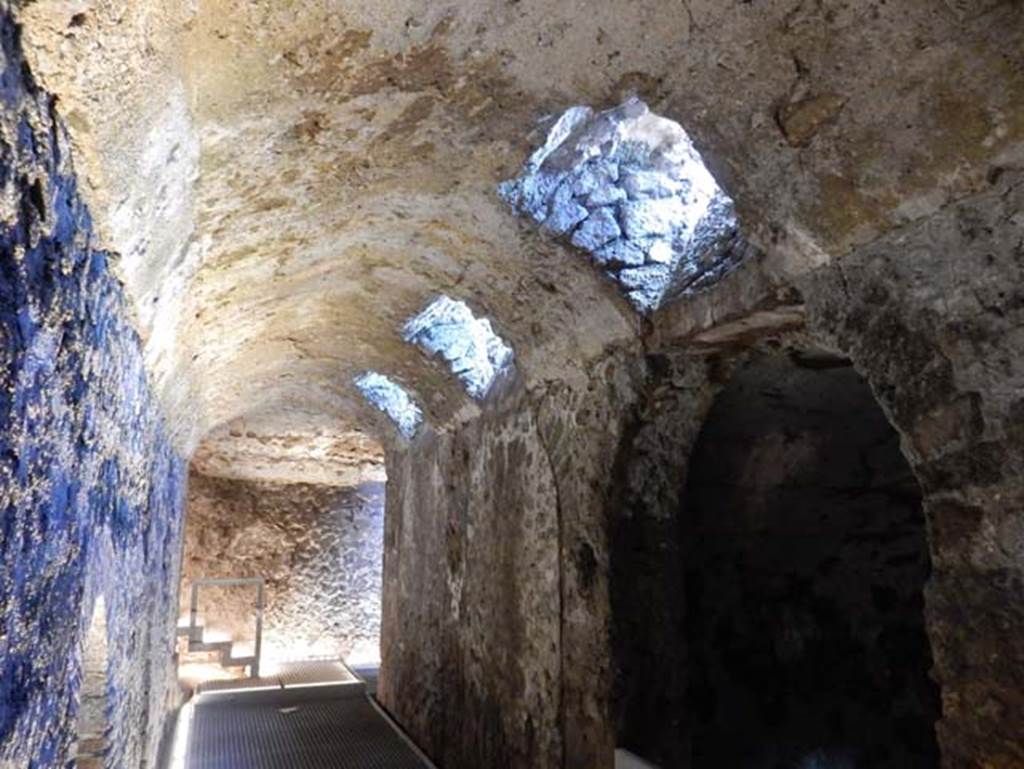
VIII.2.1 Pompeii. May 2018.
Looking east from west end of corridor/cryptoporticus 25, with doorway to vaulted room 20 on south side. Photo courtesy of Buzz Ferebee.
VIII.2.1 Pompeii. 2017/2018/2019.
Looking east from west end of corridor/cryptoporticus 25, with doorway to vaulted room 20 on south side.
Photo courtesy of Giuseppe Ciaramella.
VIII.2.1 Pompeii. May 2018. Looking south in vaulted room 20. Photo courtesy of Buzz Ferebee.
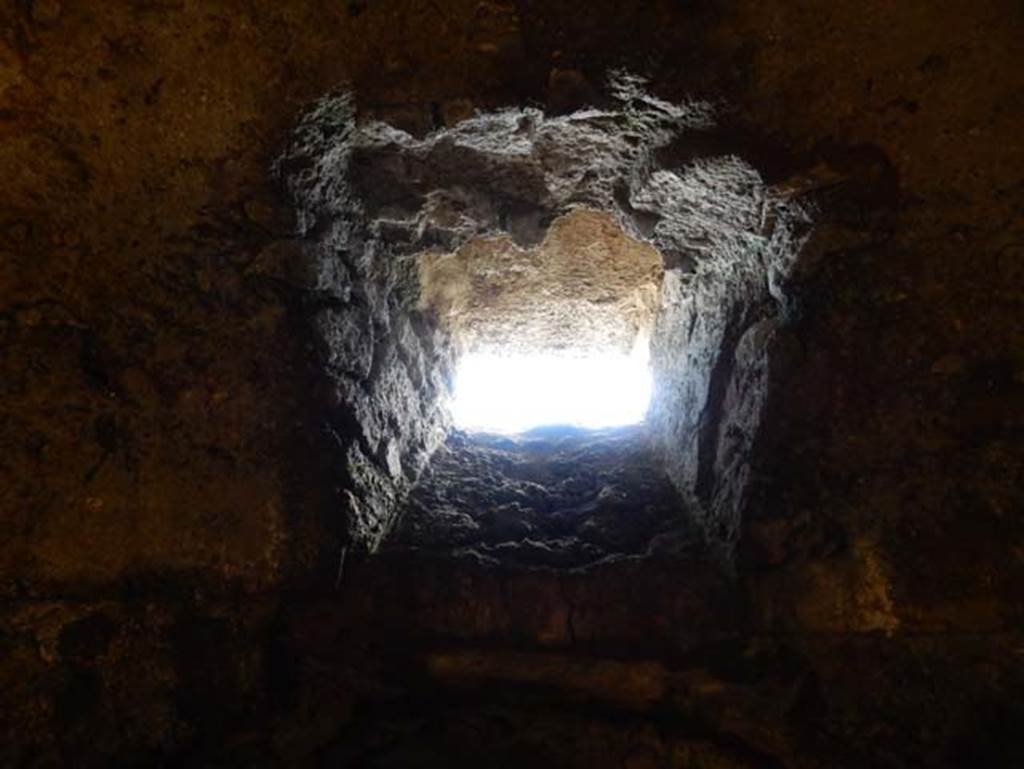
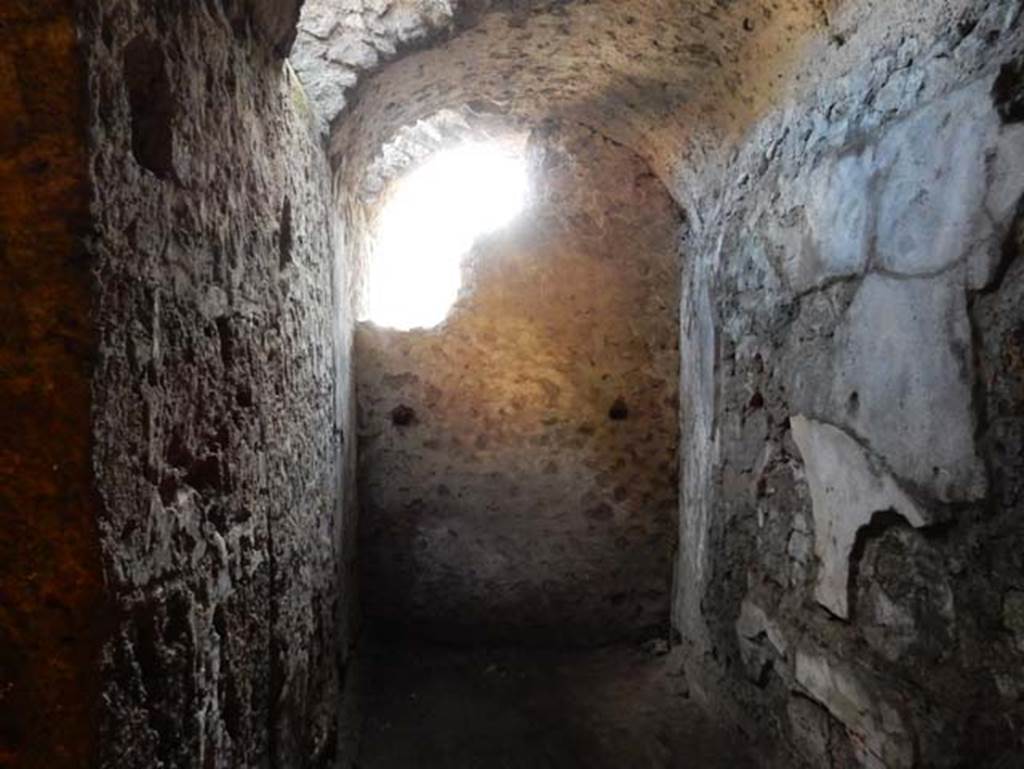
VIII.2.1 Pompeii. May 2018. Window in south wall of corridor/cryptoporticus 25 at western end. Photo courtesy of Buzz Ferebee.
VIII.2.1 Pompeii. May 2018. Central window in south wall of corridor/cryptoporticus 25. Photo courtesy of Buzz Ferebee.
VIII.2.1 Pompeii. May 2018. Window at eastern end in south wall of corridor/cryptoporticus 25. Photo courtesy of Buzz Ferebee.

VIII.2.1 Pompeii. 2017/2018/2019.
Looking south along east corridor/cryptoporticus
29. Photo courtesy of Giuseppe
Ciaramella.
VIII.2.1 Pompeii. May 2018.
Looking west through doorway to kitchen 21 on west side of east corridor/cryptoporticus 29. Photo courtesy of Buzz Ferebee.
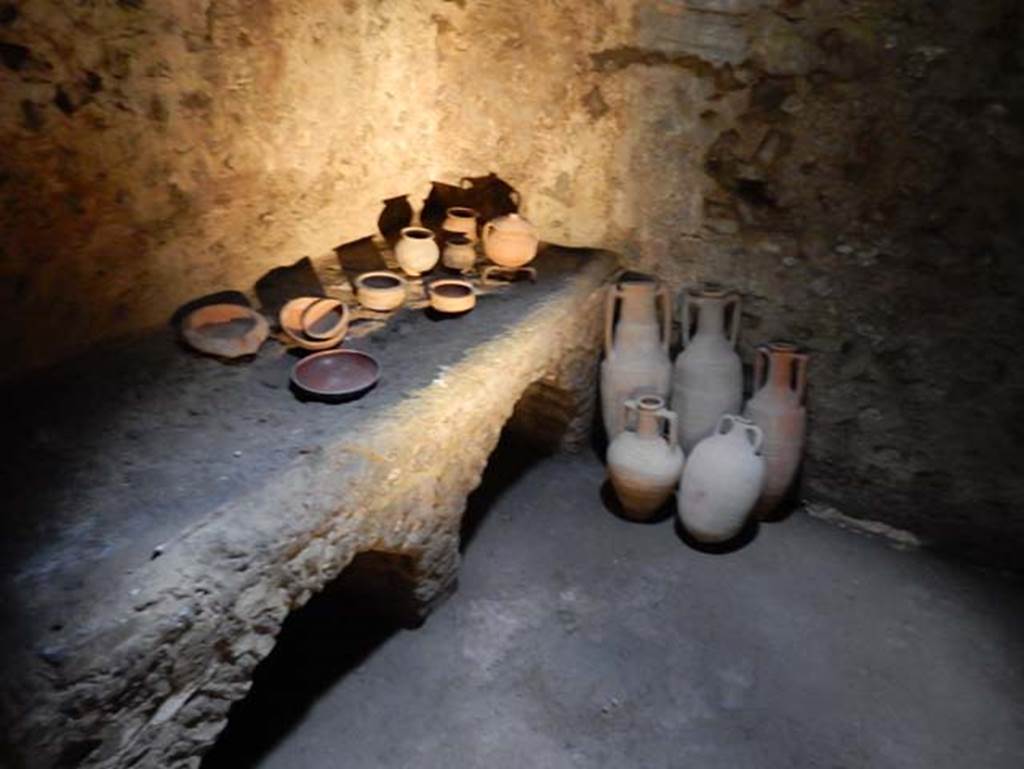
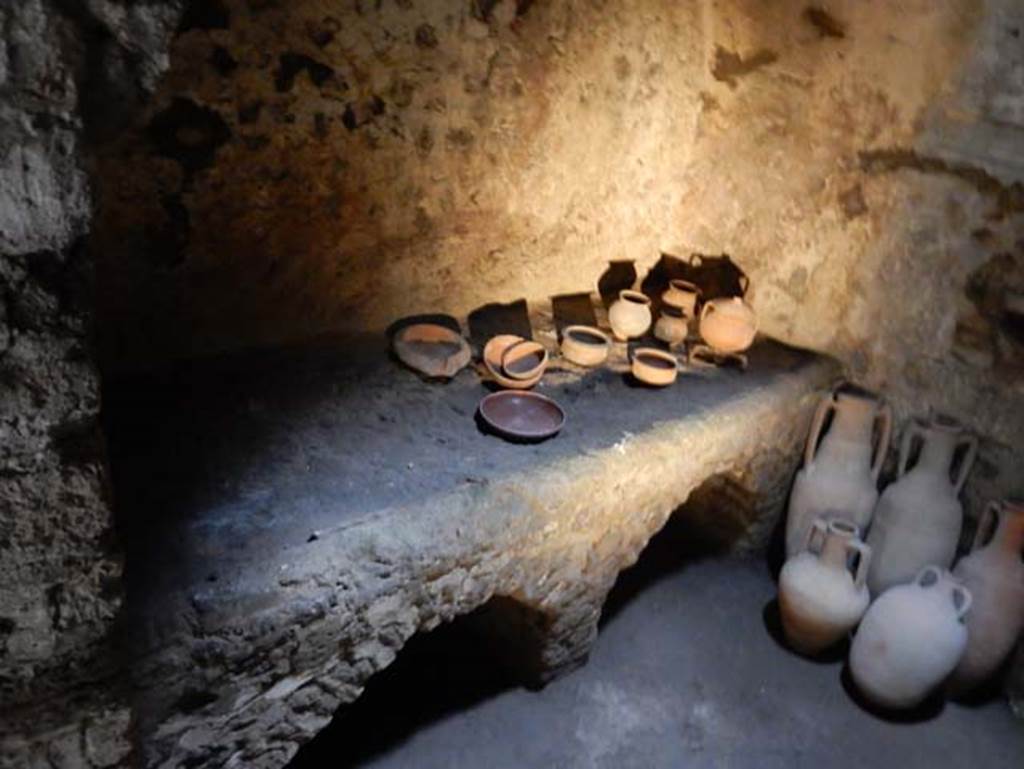
VIII.2.1 Pompeii. May 2018. Looking west into kitchen 21 with hearth. Photo courtesy of Buzz Ferebee.

VIII.2.1 Pompeii. May 2018.
Second doorway on west side of east corridor/cryptoporticus 29, to room 23. Looking south-west. Photo courtesy of Buzz Ferebee.
VIII.2.1 Pompeii. 2017/2018/2019.
Looking south along corridor 38 or (α), on lower level 1. Photo courtesy of Giuseppe
Ciaramella.

VIII.2.1 Pompeii. May 2018. Looking south along corridor 38 or (α), on lower level 1. Photo courtesy of Buzz Ferebee.
VIII.2.1 Pompeii. September 2017.
Looking south along corridor 38 or (α), on lower level 1 after restoration.
Photo courtesy of
Parco Archeologico di Pompei.
VIII.2.1 Pompeii.
2017/2018/2019.
Looking south along corridor 38 or (α), on lower level 1. Photo courtesy of Giuseppe Ciaramella.
VIII.2.1 Pompeii. 2017/2018/2019.
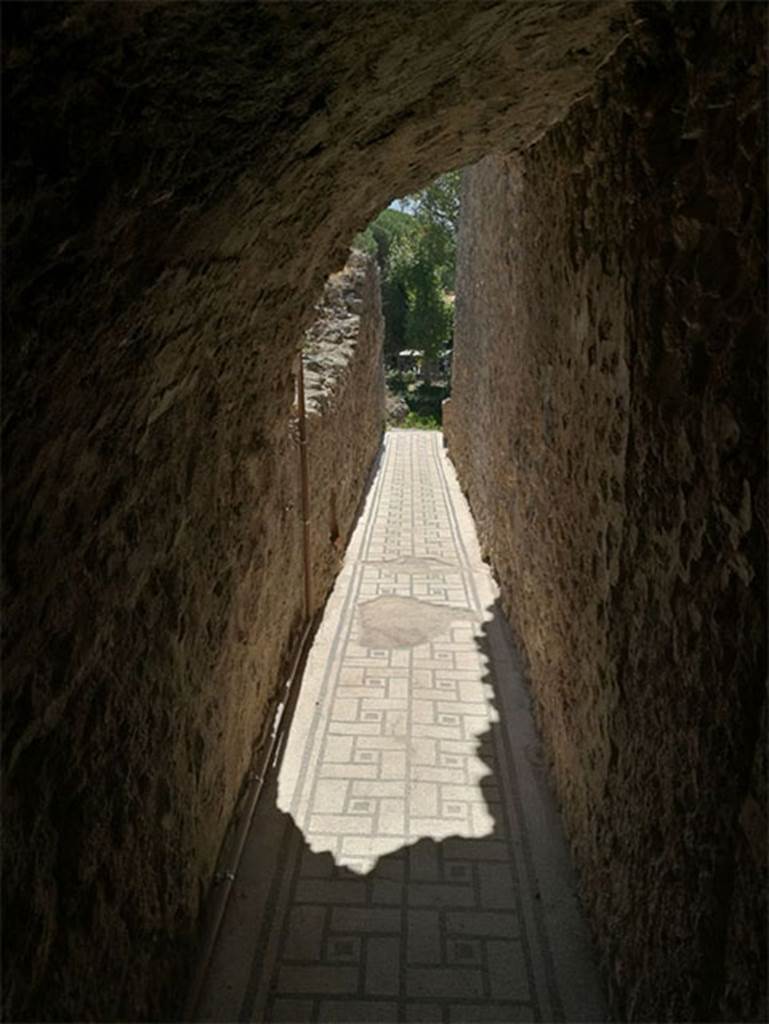
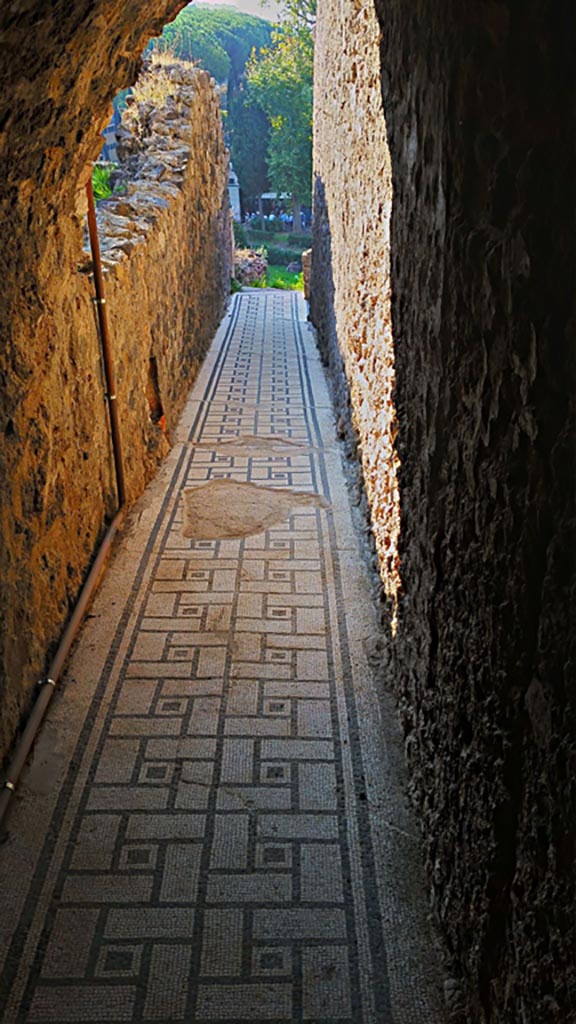
Looking south along black and white mosaic floor in corridor 38 or (α), on lower level 1.
Photo courtesy of Giuseppe
Ciaramella.
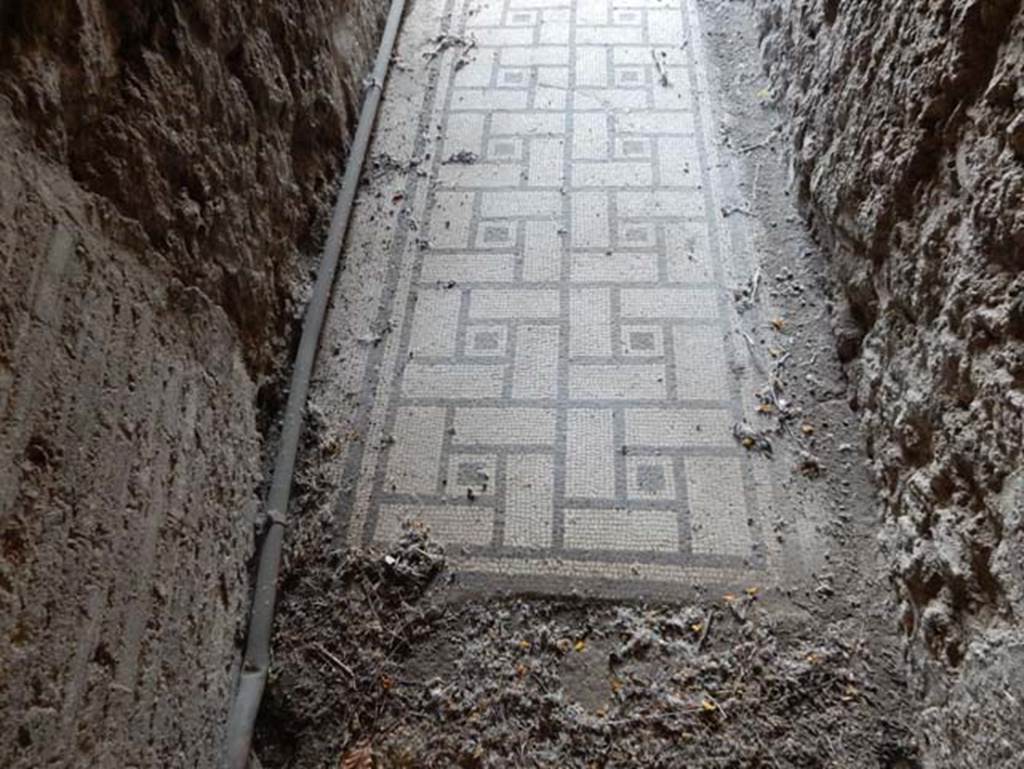
VIII.2.1 Pompeii. May 2018. Black and white mosaic in corridor 38 or (α), on lower level 1. Photo courtesy of Buzz Ferebee.
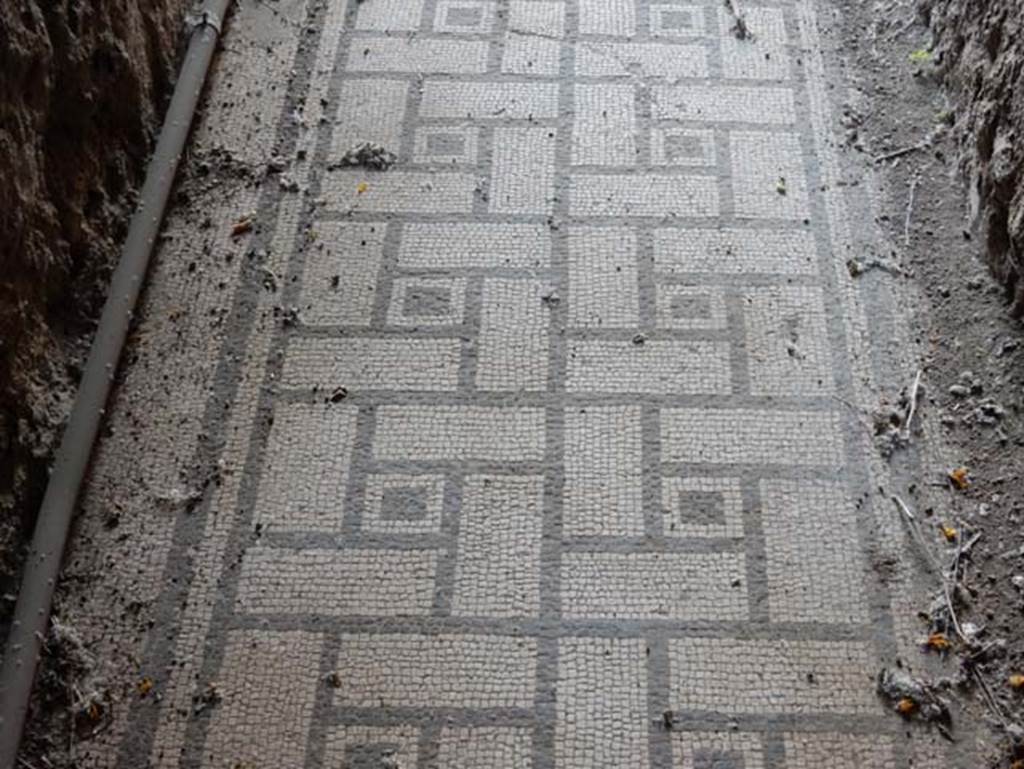
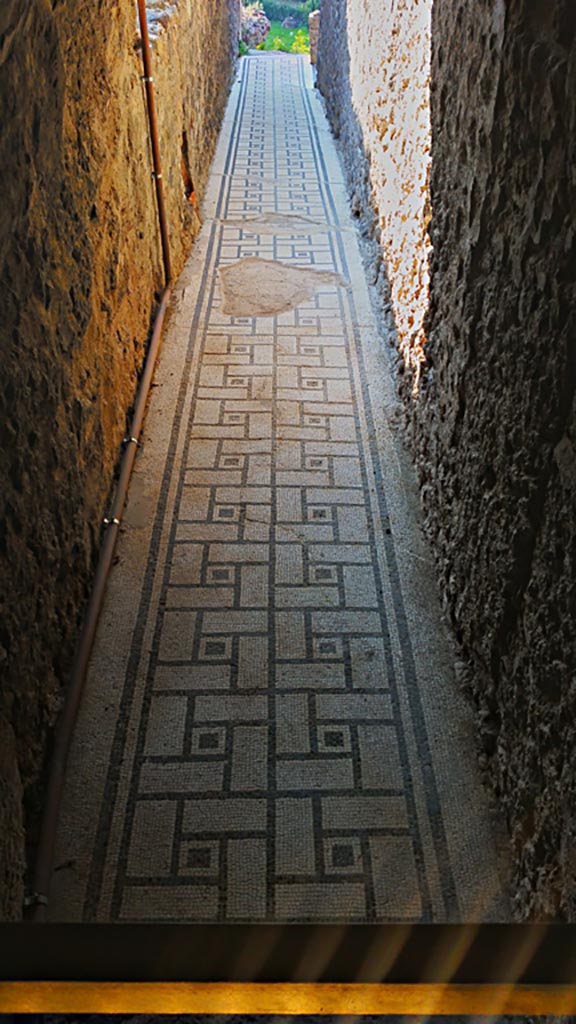
VIII.2.1 Pompeii. May 2018. Detail of black and white mosaic in the long corridor 38 or (α) of the lower level 1.
This was paved with white mosaic delineated in black with a combination of rectangles set around into a square containing a black square.
Photo courtesy of Buzz Ferebee.
VIII.2.1 Pompeii. May 2018.
Lower level 1, doorway into area 31 on south side of south corridor/cryptoporticus 30. Photo courtesy of Buzz Ferebee.
VIII.2.1 Pompeii. May 2018.
Lower level 1, area 32 on south side of south corridor/cryptoporticus 30. Photo courtesy of Buzz Ferebee.
VIII.2.1 Pompeii.
2017/2018/2019.
Lower level 1, looking east along south corridor/cryptoporticus
30. Photo courtesy of Giuseppe Ciaramella.
VIII.2. Pompeii. May 2018.
Lower level 1, doorway to room 22 on north side of south corridor/cryptoporticus 30. Photo courtesy of Buzz Ferebee.
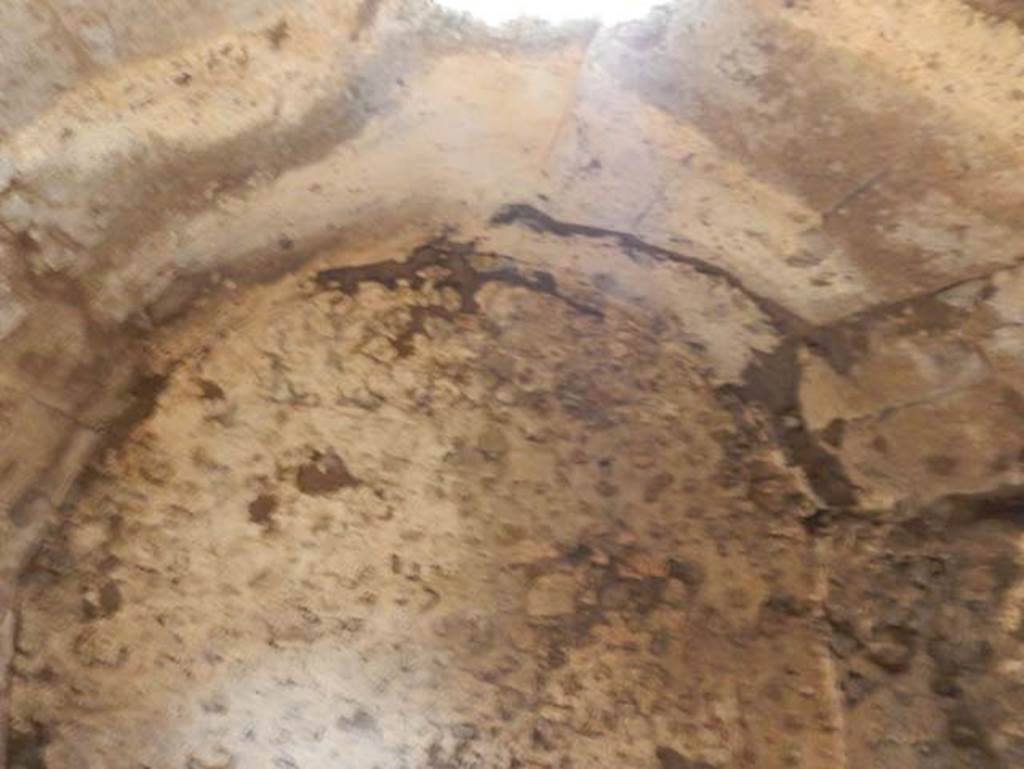
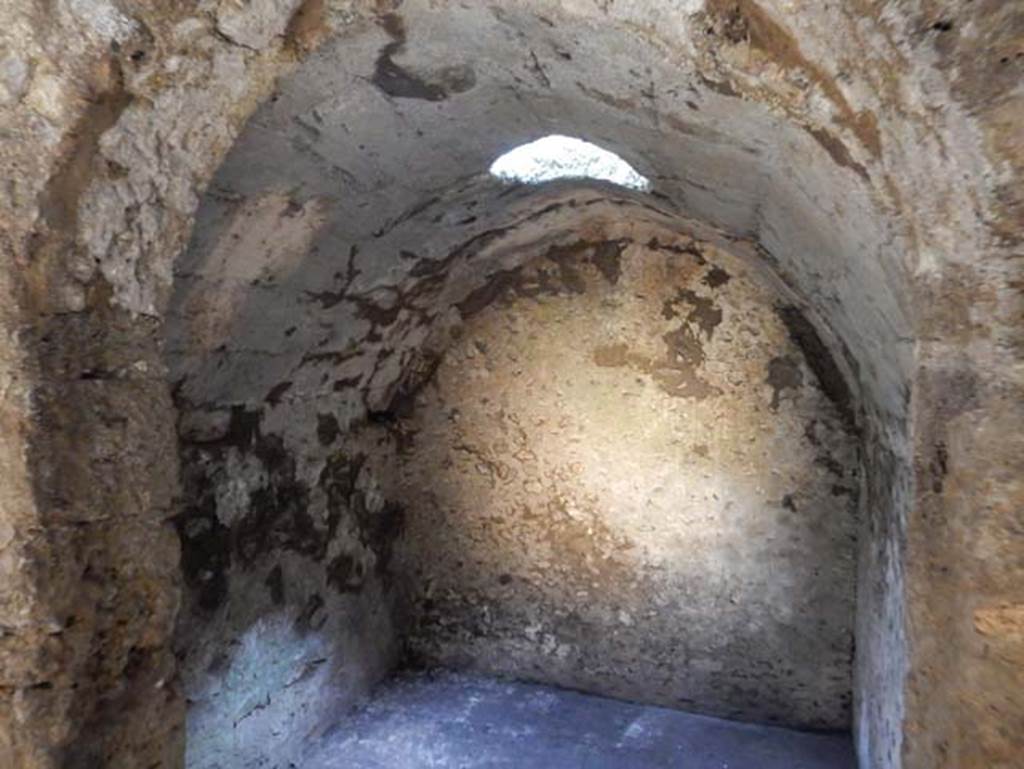
VIII.2.1 Pompeii. May 2018. Lower level 1, looking towards north wall of room 22. Photo courtesy of Buzz Ferebee.
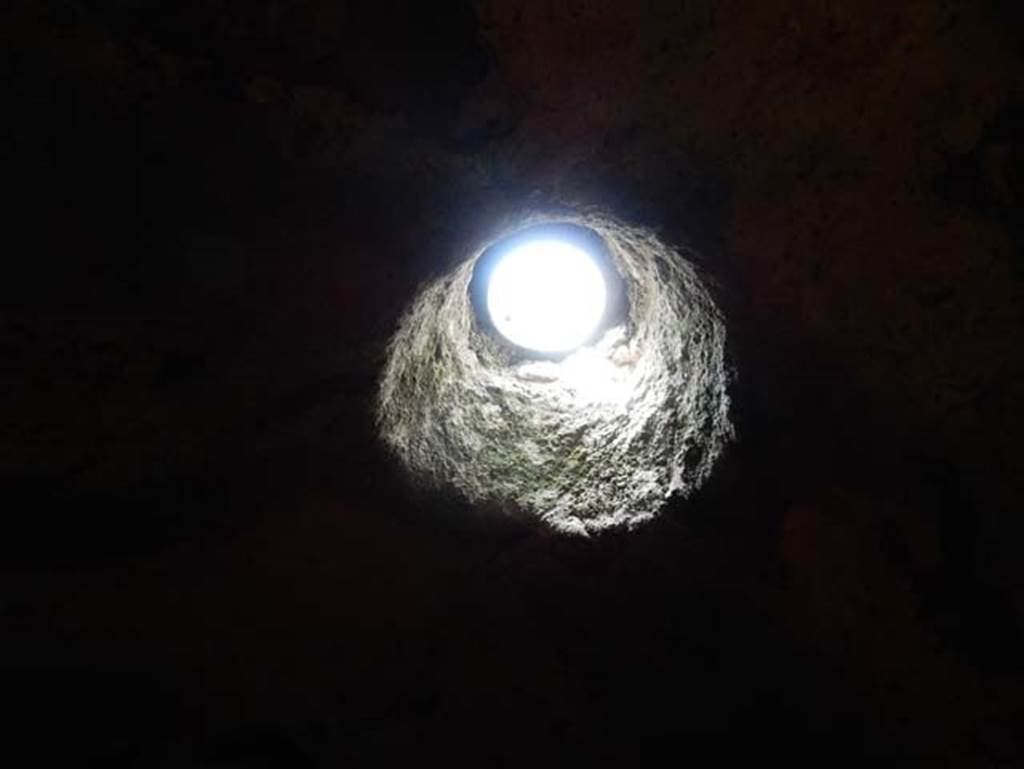
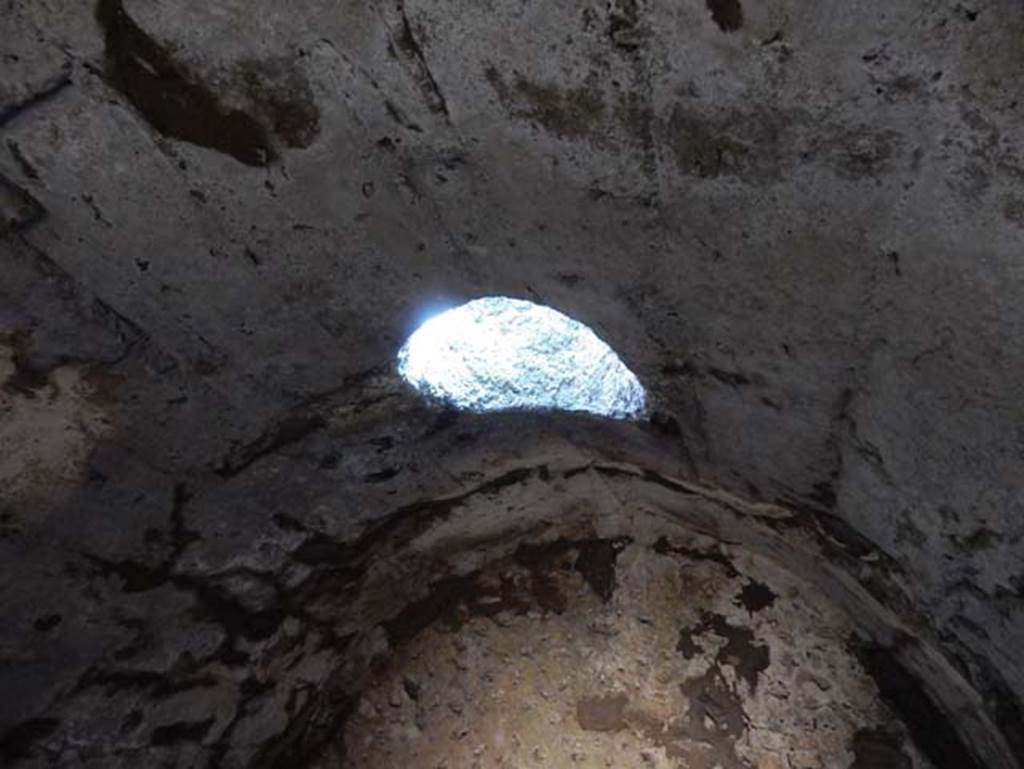
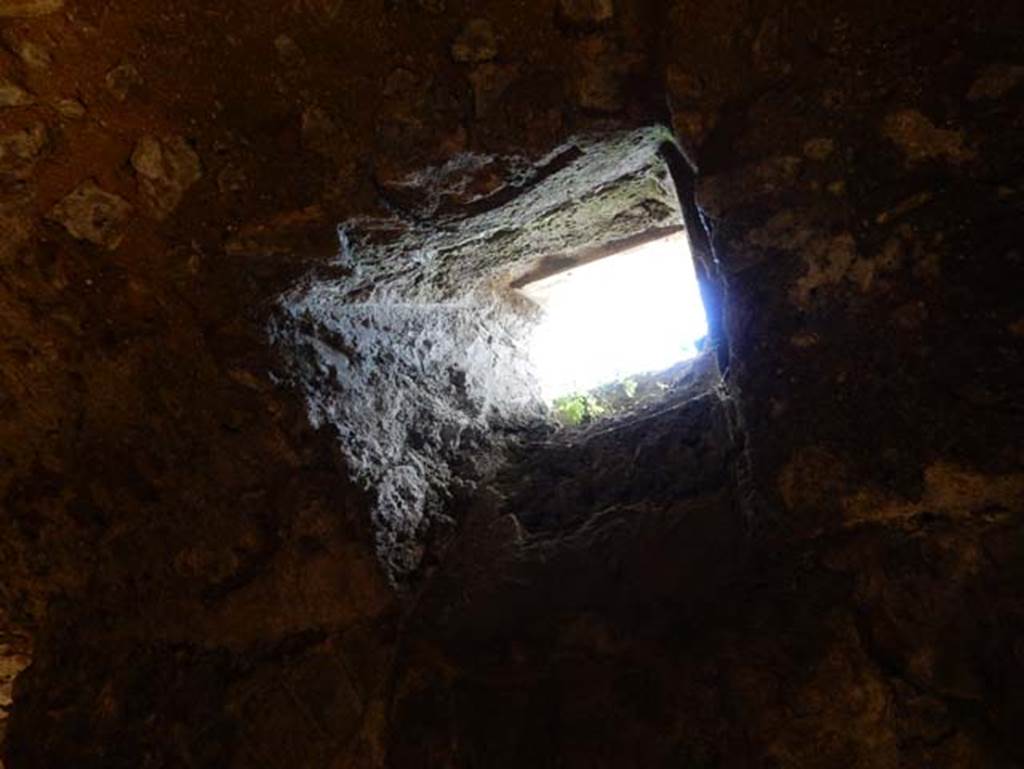
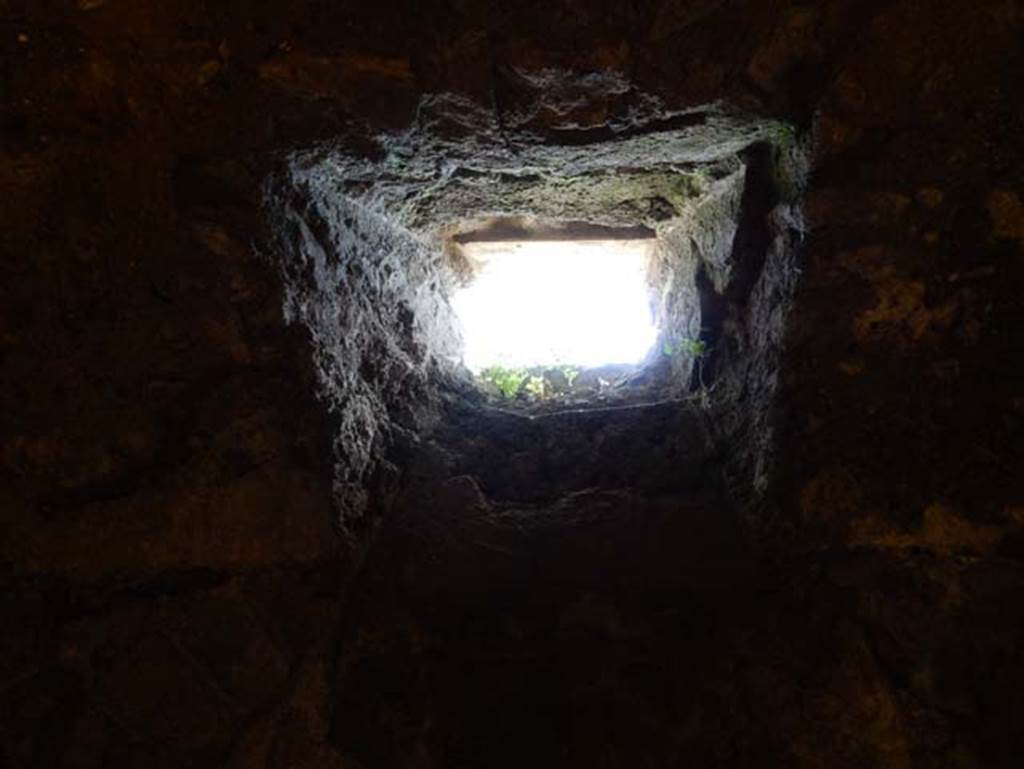
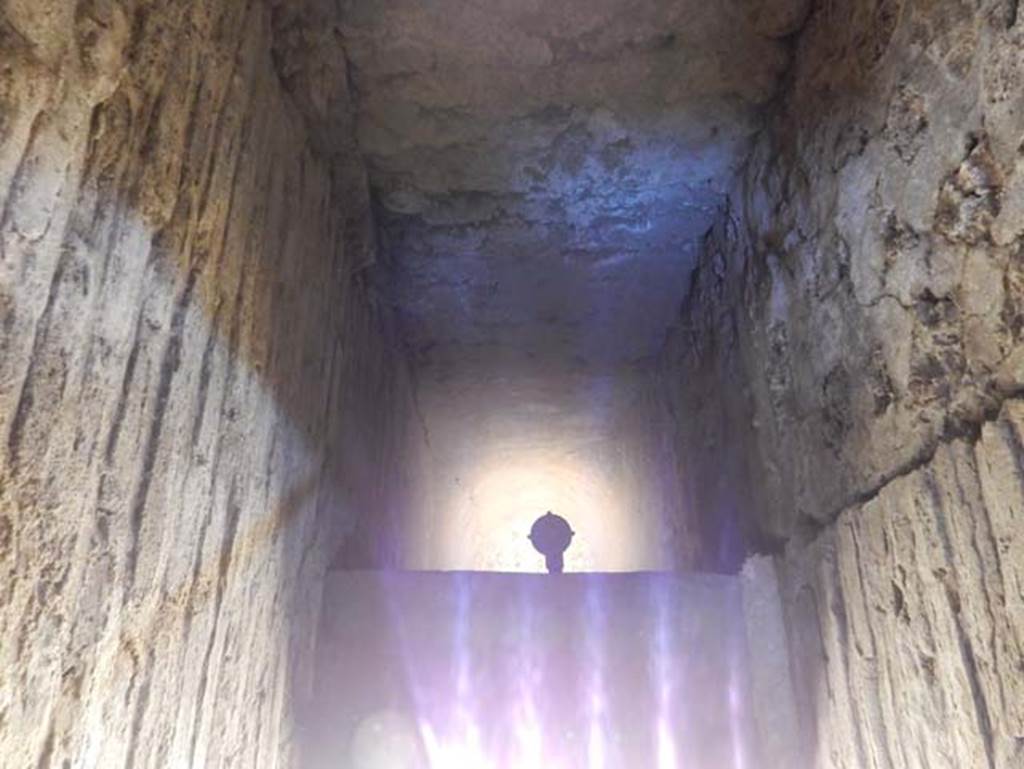
VIII.2.1 Pompeii. May 2018.
Circular window in room 22 on north side of south corridor/cryptoporticus 30. Photo courtesy of Buzz Ferebee.
VIII.2.1 Pompeii. May 2018.
Lower level 1, looking east along south corridor/cryptoporticus 30, with windows above north wall. Photo courtesy of Buzz Ferebee.
VIII.2.1 Pompeii. May 2018.
Lower level 1, looking north along east corridor/cryptoporticus 29, from south end. Photo courtesy of Buzz Ferebee.

VIII.2.1 Pompeii.
2017/2018/2019
Lower level 1, looking north along east corridor/cryptoporticus 29 towards steps to ground floor level above.
Photo courtesy of Giuseppe
Ciaramella.
VIII.2.1 Pompeii. May 2018.
Steps leading up in north-east corner of corridor/cryptoporticus from lower level 1 to ground floor level above. Photo courtesy of Buzz Ferebee.
VIII.2.1 Pompeii. May 2018. Ground floor level. Looking west along corridor near steps/stairs to upper and lower floors.
Photo courtesy of Buzz Ferebee. The south-east corner of the atrium is through the doorway on the right.
The steps that would have led up to the upper floor are on the left, next to the steps down to the lower level.
VIII.2.1 Pompeii. May 2018. Ground floor level. The steps to the upper floor are on the left. Photo courtesy of Buzz Ferebee.
VIII.2.1 Pompeii. May 2018. Looking towards steps to upper floor on south side of corridor. Photo courtesy of Buzz Ferebee.
VIII.2.1 Pompeii. December 2005. Steps to upper floor.
VIII.2.1 Pompeii. May 2018.
West end of corridor in south-east corner of atrium and linked to VIII.2.2. Photo courtesy of Buzz Ferebee.
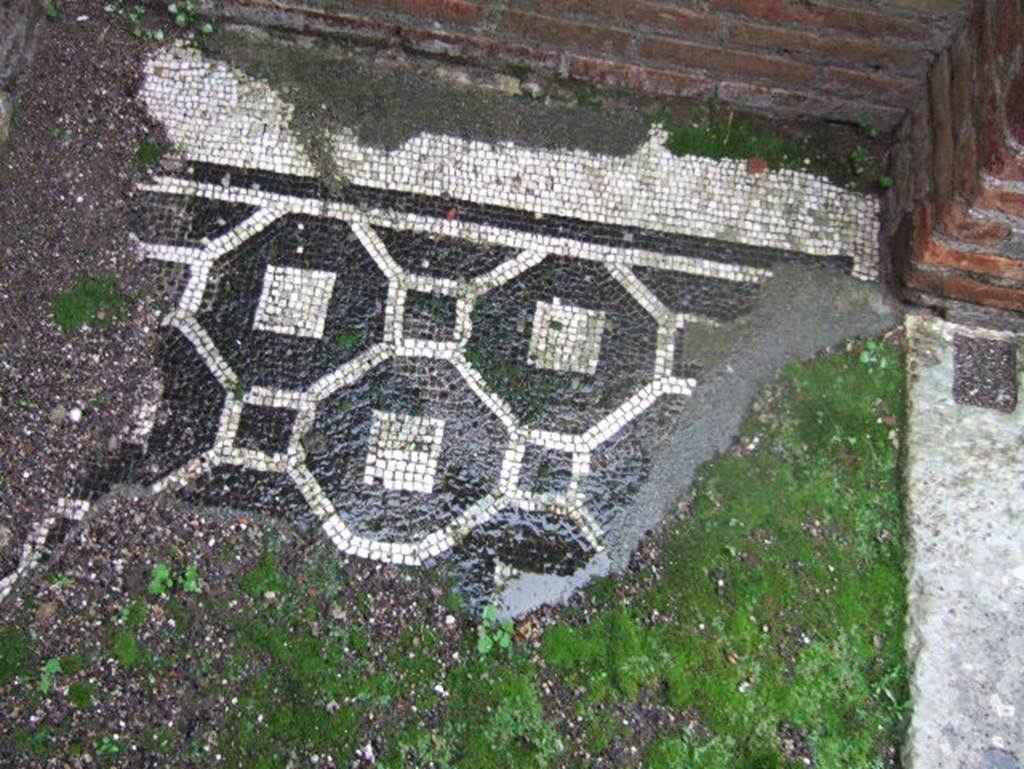
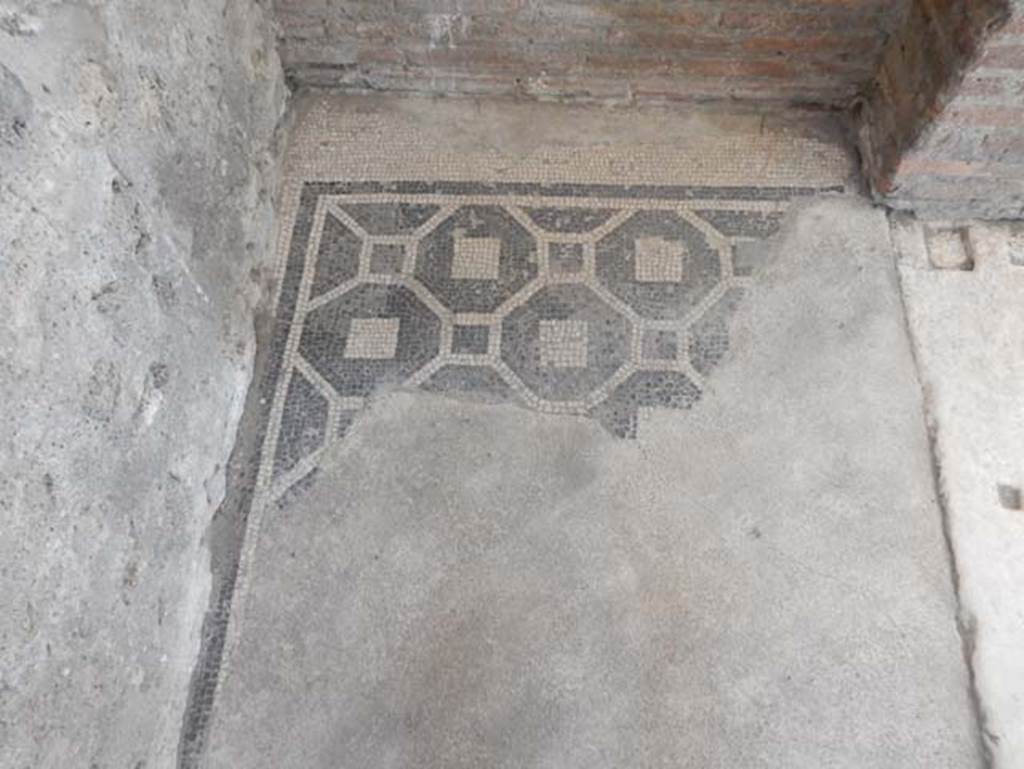
VIII.2.1 Pompeii. December 2005. Mosaic floor.
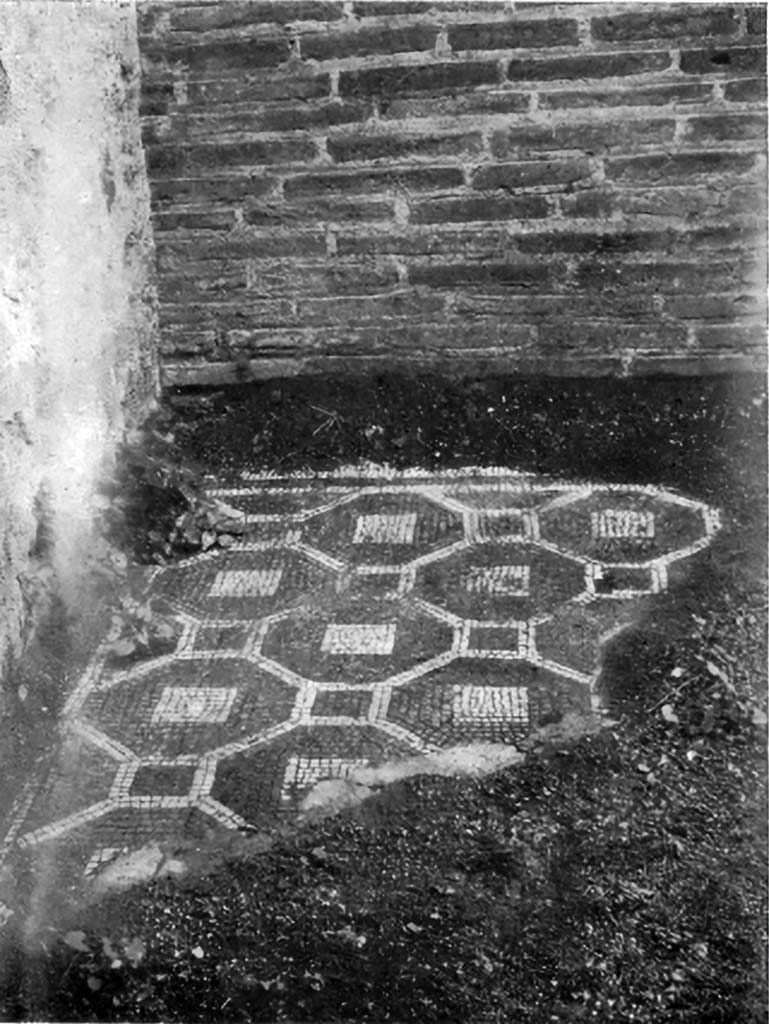
VIII.2.1
Pompeii. c.1930. Looking west across remaining mosaic flooring in corridor
See Blake, M., (1930). The pavements of the Roman Buildings of the Republic and Early Empire. Rome, MAAR, 8, (p. 97f, & Pl.24, tav.3).
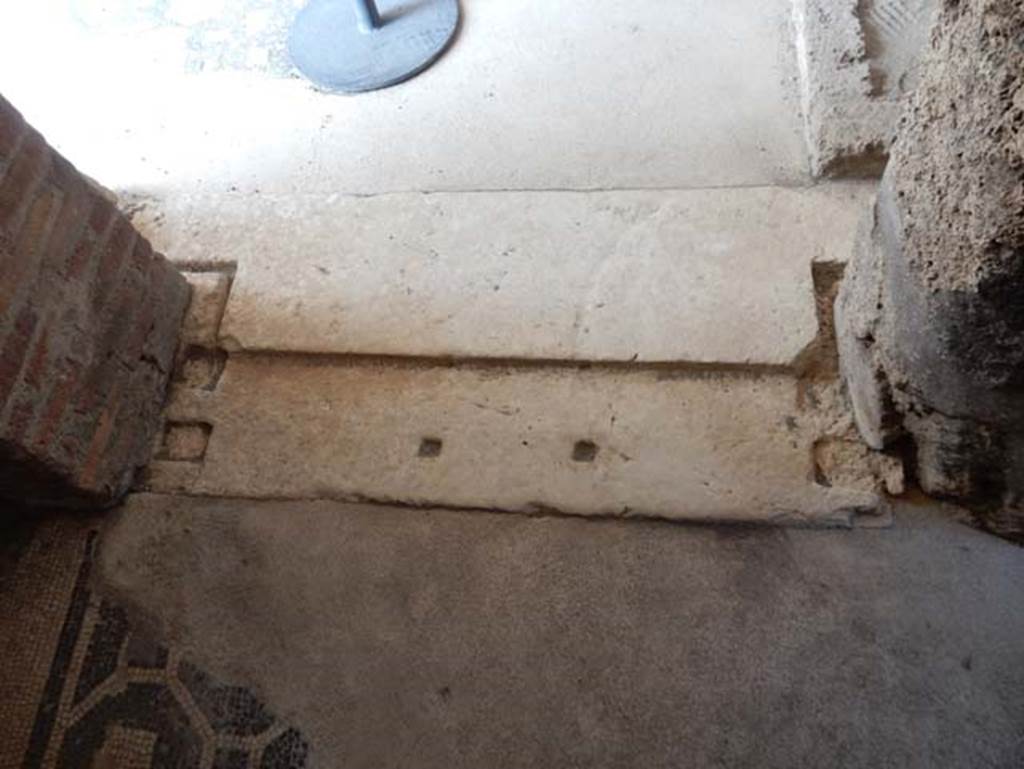
VIII.2.1 Pompeii. May 2018.
Looking north across doorway threshold from west end of corridor to south-east corner of atrium. Photo courtesy of Buzz Ferebee.
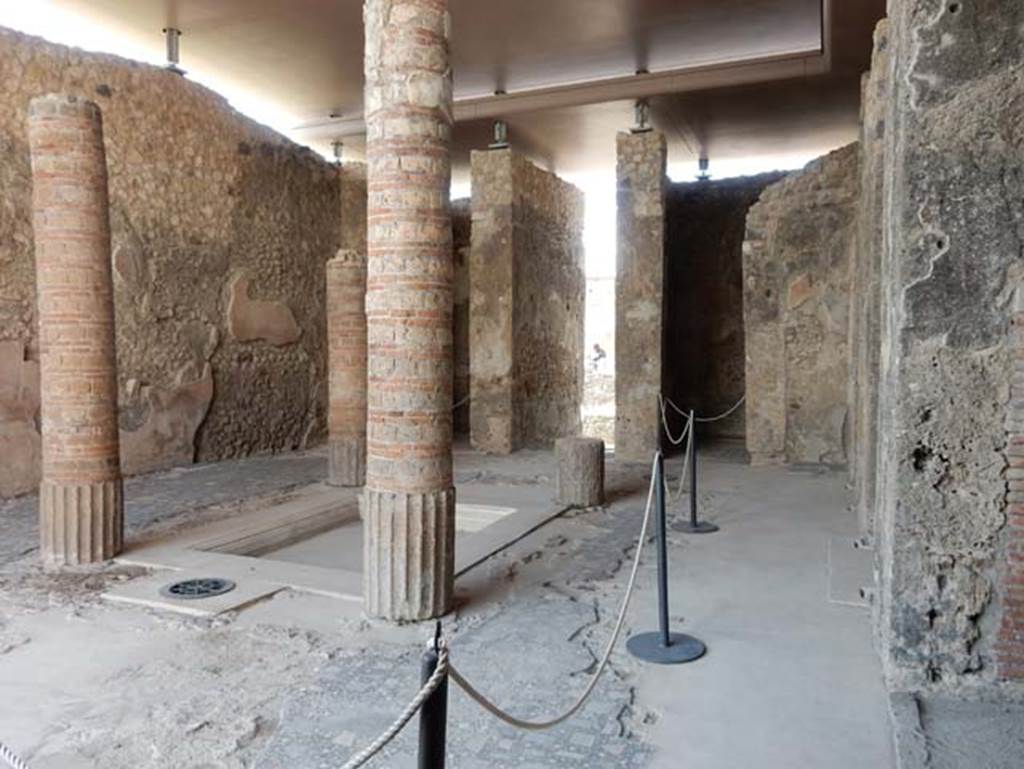
VIII.2.1 Pompeii. May 2018. Looking north across atrium from south-east corner. Photo courtesy of Buzz Ferebee.
Part 1 Part 2 Part 3 Part 4 Part 5 Part 6