I.20.3 Pompeii. The Lantern Works or Officina di Lucerne.
Excavated 1954, 1958-59. Linked to I.20.1 and I.20.2.
(Originally, this Insula was numbered as Reg. II, Insula 13, and then in the 1950’s at the moment of excavation altered to Reg I, Insula 15).
I.20.3
Pompeii, on right, I.20.1, on left, I.20.2, in centre. December 2018.
Looking
towards doorways on west side of Via di Nocera. Photo courtesy of Aude Durand.
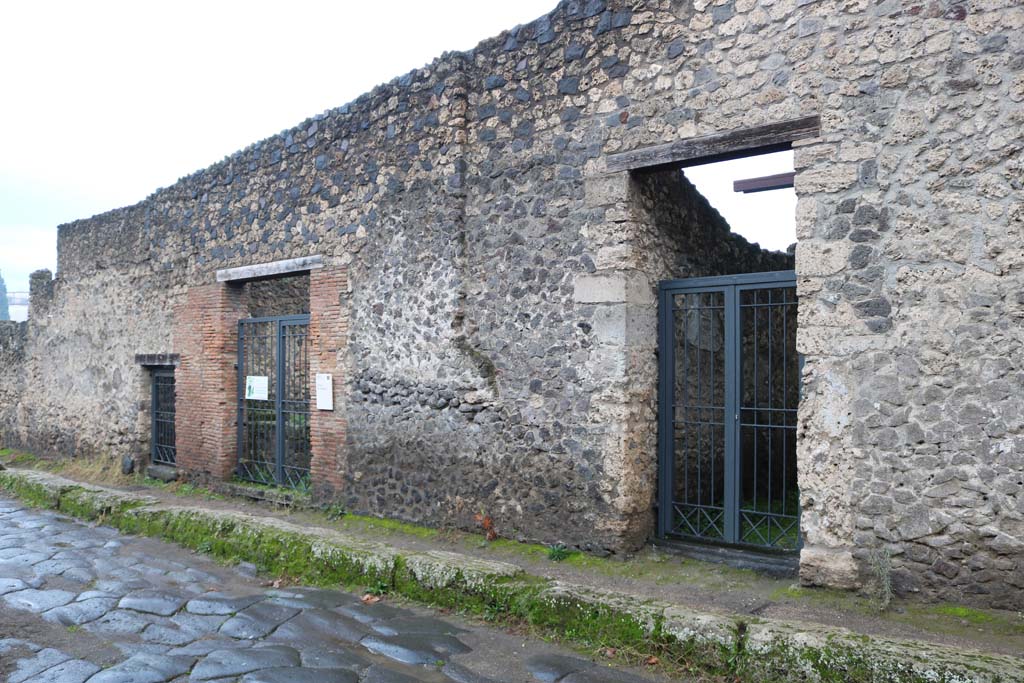
I.20.3
Pompeii, on left. October 2024.
Looking west towards doorway on Via di Nocera, with I.20.4, on right. Photo courtesy of Giuseppe Ciaramella.
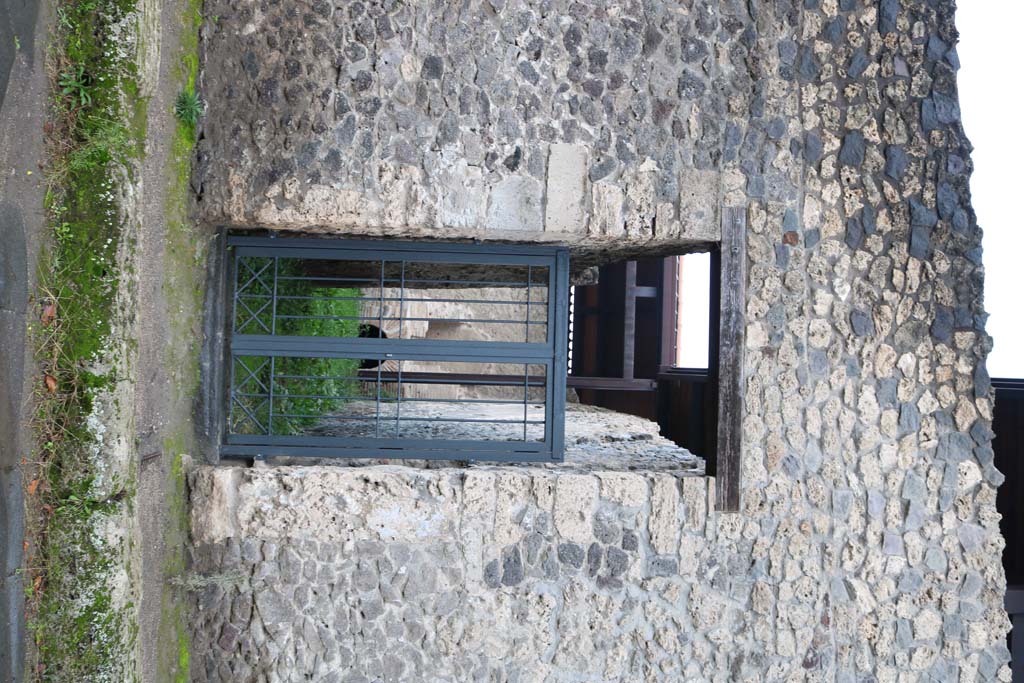
I.20.3 Pompeii.
December 2018. Entrance doorway. Photo
courtesy of Aude Durand.
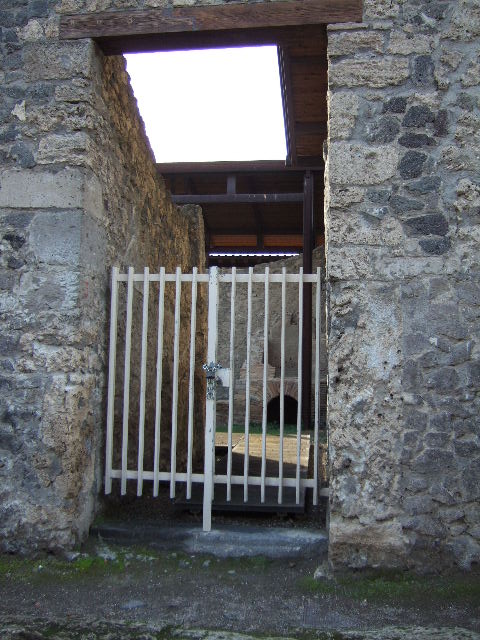
I.20.3 Pompeii. December 2004. Entrance.
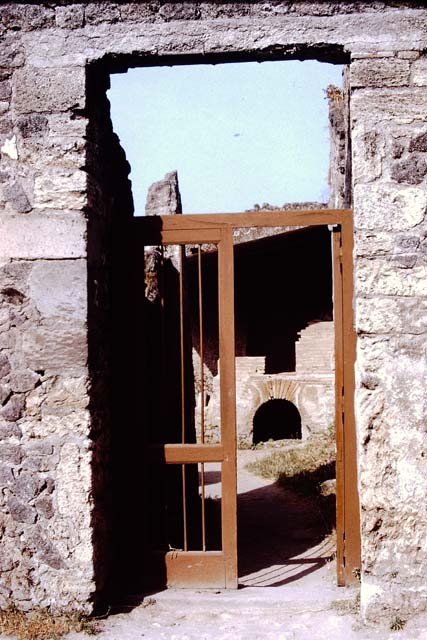
I.20.3 Pompeii. 1972. Entrance doorway. Photo by Stanley A. Jashemski.
Source: The Wilhelmina and Stanley A. Jashemski archive in the University of Maryland Library, Special Collections (See collection page) and made available under the Creative Commons Attribution-Non Commercial License v.4. See Licence and use details.
J72f0110
According to Wilhelmina, writing about a hole discovered in the garden of I.15.3,
“When the heavy growth had been cleaned from the hole, it was noticed that the hole had a yellow colour, which it was thought may have been potter’s clay, but of a quality that would have required much work to refine it. It may have been the source of the clay used at the nearby lamp and dice box factory.
Prof. Cerulli Irelli had taken them to see this small factory which she had been studying.
The moulds in which the lamps were made, the finished lamps, and the kiln in which they would have been fired were all seen.
The lamps had all types of decoration such as deities, birds and plants.
Wilhelmina especially liked the one of a small cupid trudging along, carrying two huge baskets of produce, perhaps grapes, hanging from a pole resting on his shoulders.”
See Jashemski, W.F., 2014. Discovering the Gardens of Pompeii: Memoirs of a Garden Archaeologist, (p.189).
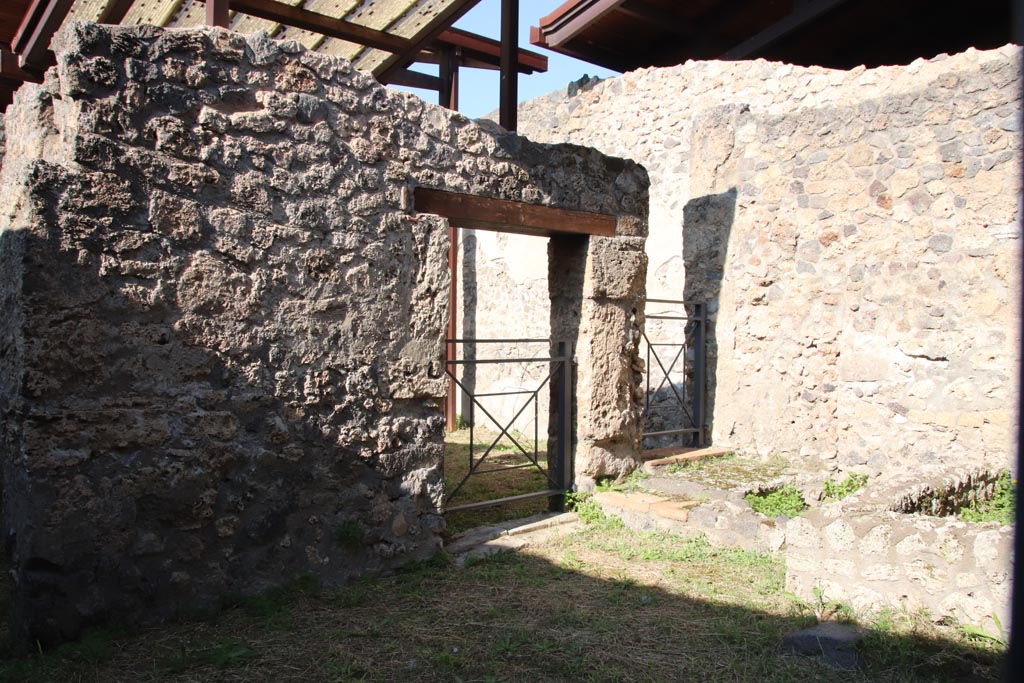
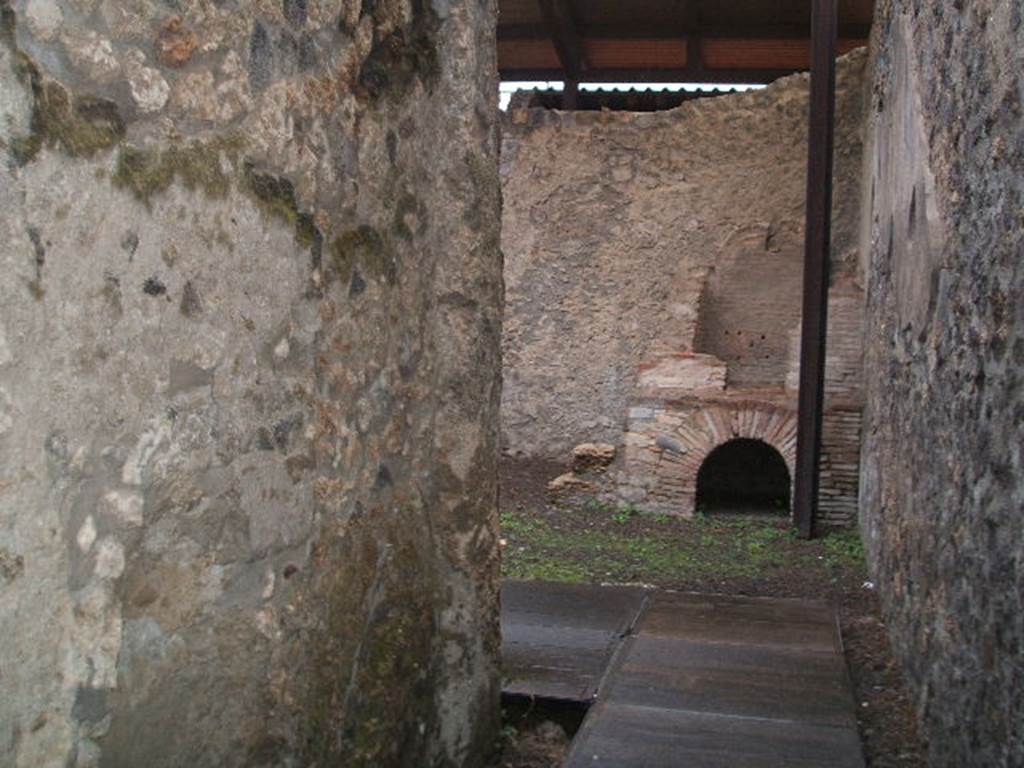
I.20.3 Pompeii. December 2006. Looking west into rear room, from doorway of I.20.2.
I.20.3 Pompeii October 2022.
Looking north-west from doorway of I.20.2 towards doorways into rear room of I.20.3. Photo courtesy of Klaus Heese.
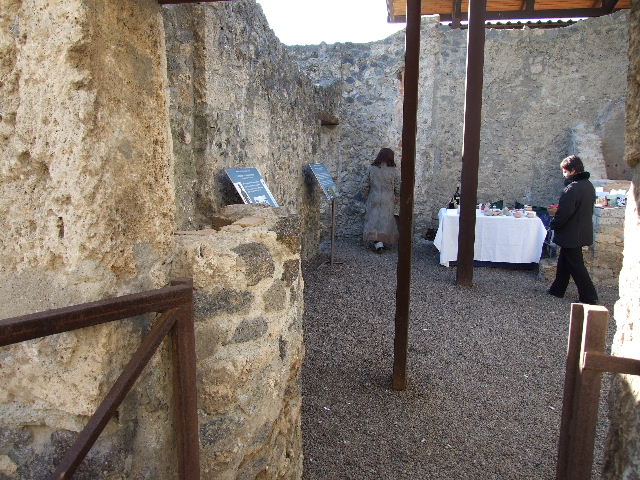
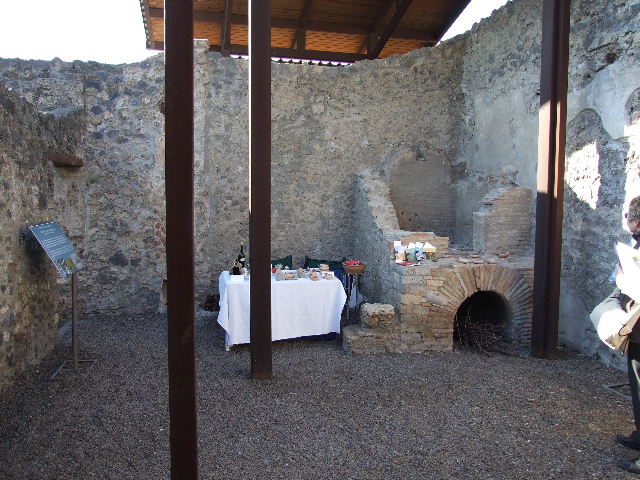
I.20.3 Pompeii. December 2018.
Looking east across rear room towards entrance doorway, on left, and doorways to I.20.2, on right. Photo courtesy of Aude Durand.
I.20.3 Pompeii. December 2018.
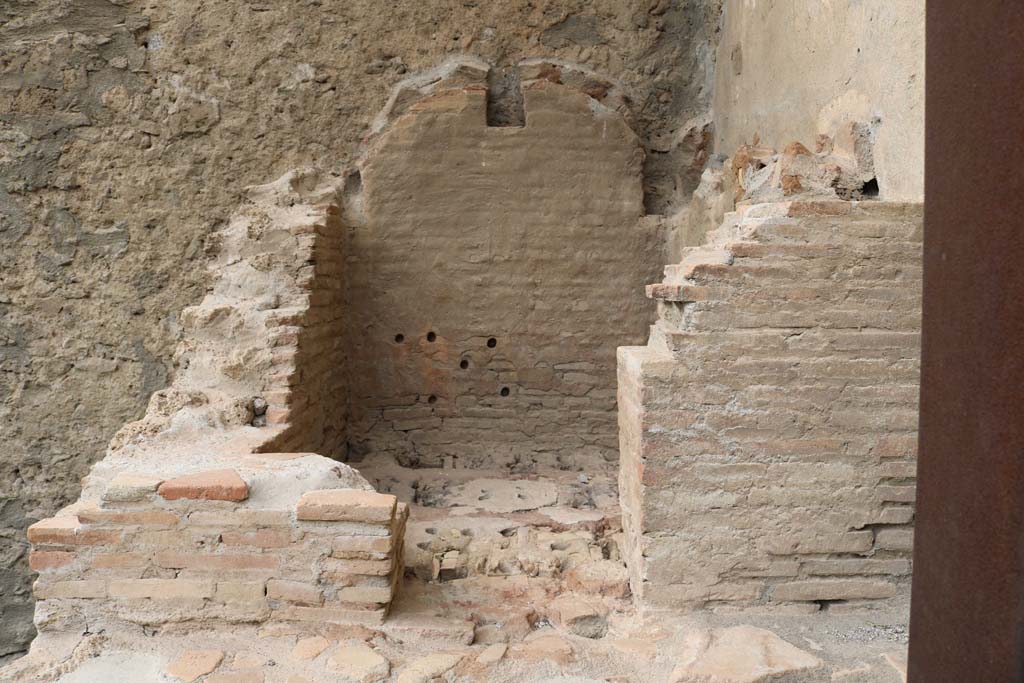
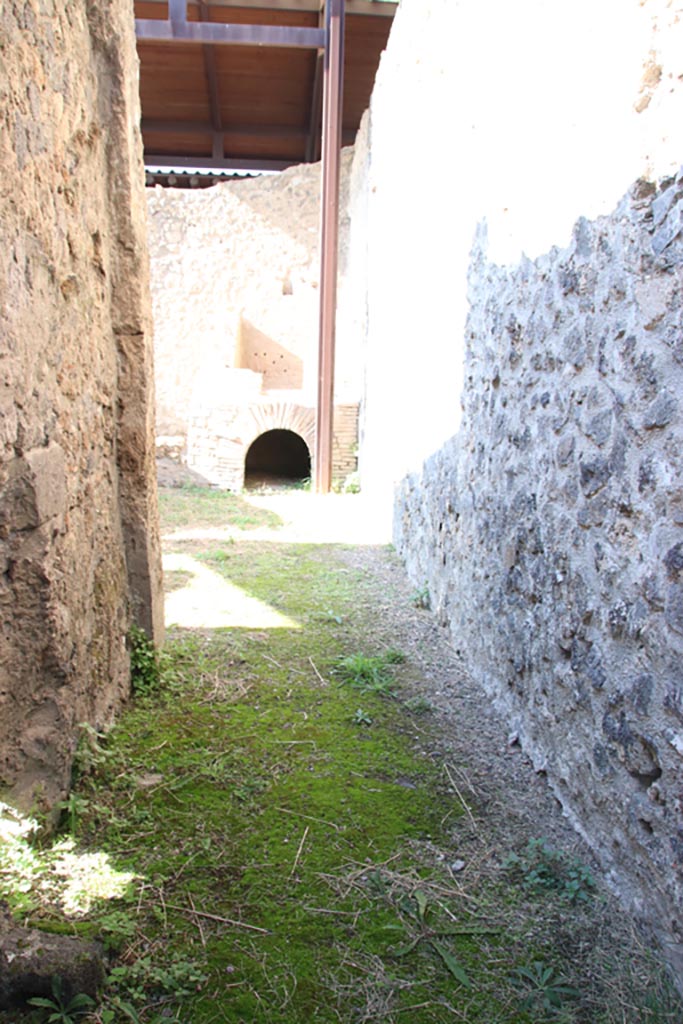
Looking east towards oven in south-east corner of rear-room. Photo courtesy of Aude Durand.

I.20.3 Pompeii. June 2005. Looking east towards oven at rear of entrance doorway from I.20.2. Photo courtesy of Nicolas Monteix.
I.20.3 Pompeii. 1972. Oven in south-east corner of rear room. Photo by Stanley A. Jashemski.
Source: The Wilhelmina and Stanley A. Jashemski archive in the University of Maryland Library, Special Collections (See collection page) and made available under the Creative Commons Attribution-Non-Commercial License v.4. See Licence and use details.
J72f0173
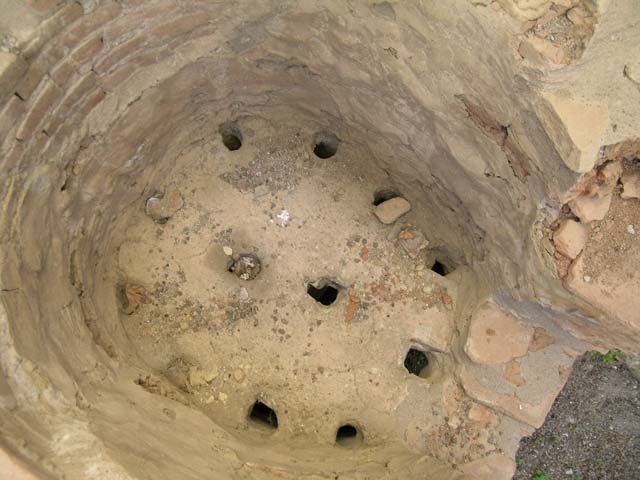
I.20.3 Pompeii. December 2018. Interior of oven. Photo
courtesy of Aude Durand.
I.20.3 Pompeii. June 2005. Interior of oven. Photo courtesy of Nicolas Monteix.
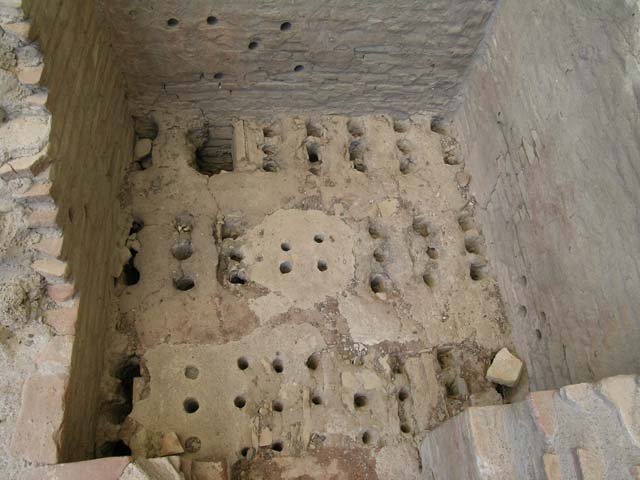
I.20.3 Pompeii. 1964. Detail of oven in rear room. Photo by Stanley A. Jashemski.
Source: The Wilhelmina and Stanley A. Jashemski archive in the University of Maryland Library, Special Collections (See collection page) and made available under the Creative Commons Attribution-Non-Commercial License v.4. See Licence and use details.
J64f1729

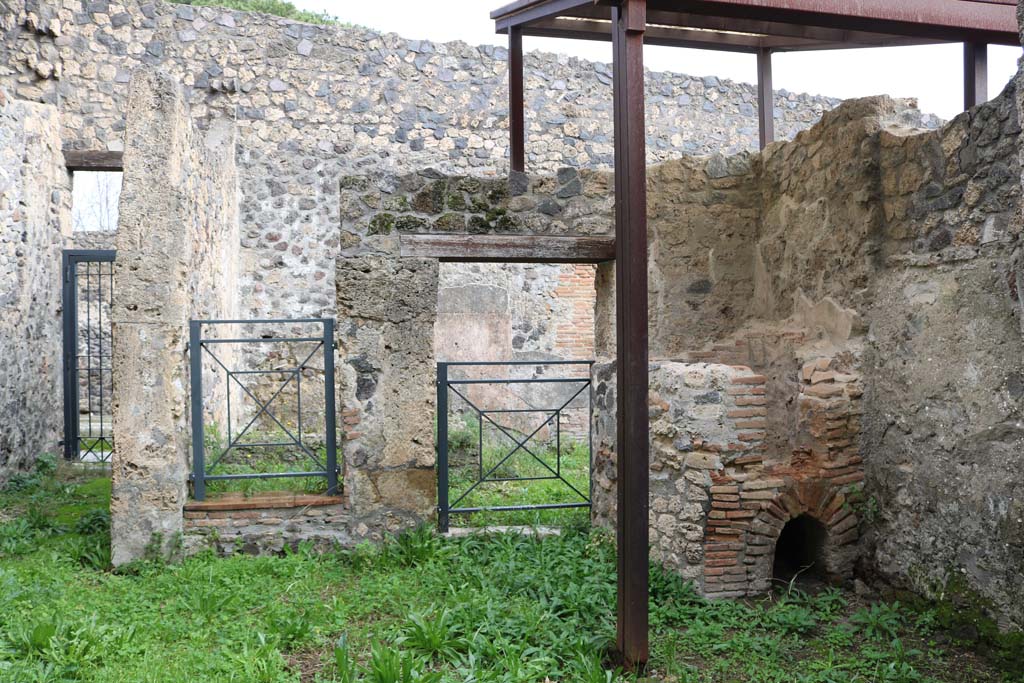
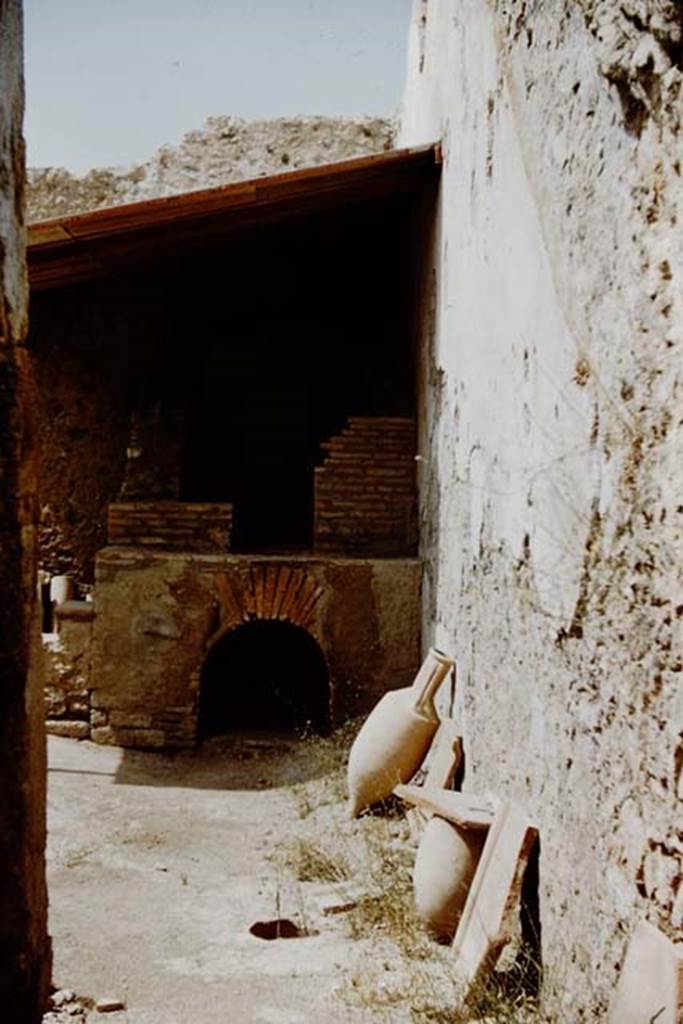
I.20.3 Pompeii. December 2006. West wall with oven in north-west corner of rear room.
I.20.3 Pompeii October 2022.
Looking west to oven in north-west corner. Photo courtesy of Klaus Heese.
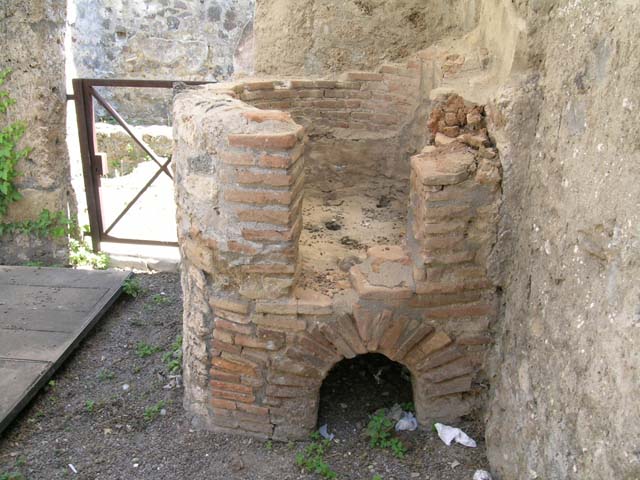
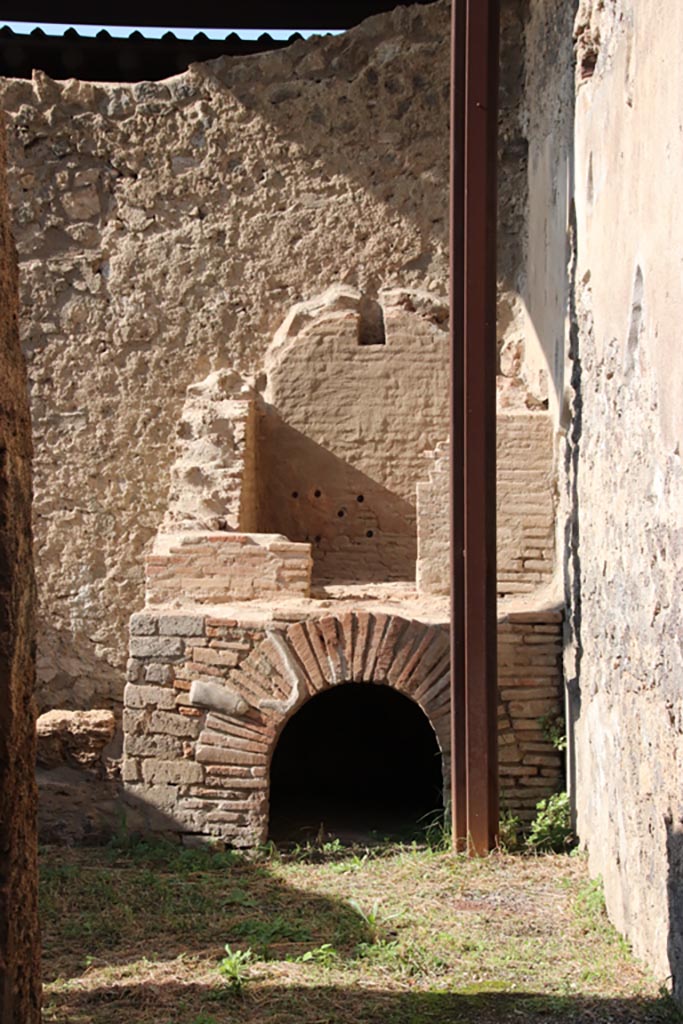
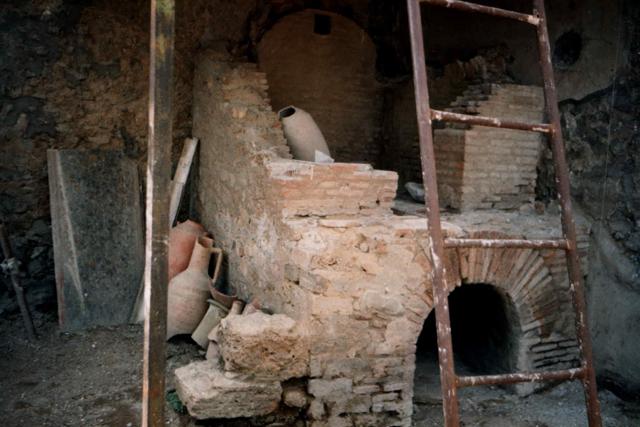
I.20.3 Pompeii. December 2018.
Oven in north-west
corner of rear room. Photo
courtesy of Aude Durand.
I.20.3 Pompeii. December 2006. Oven in north-west corner of rear room.
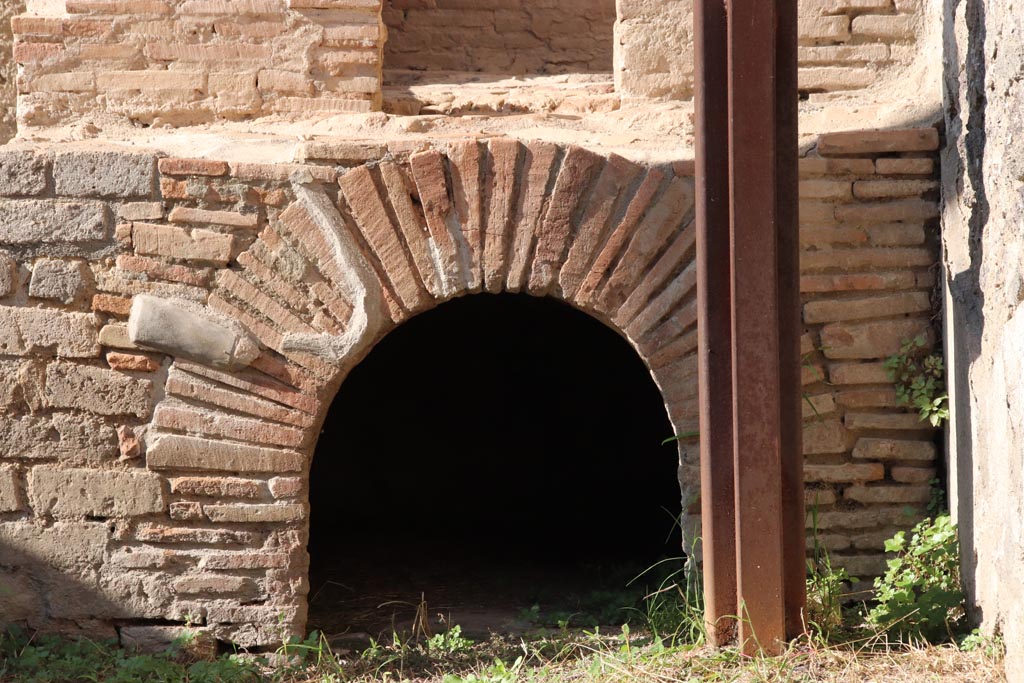
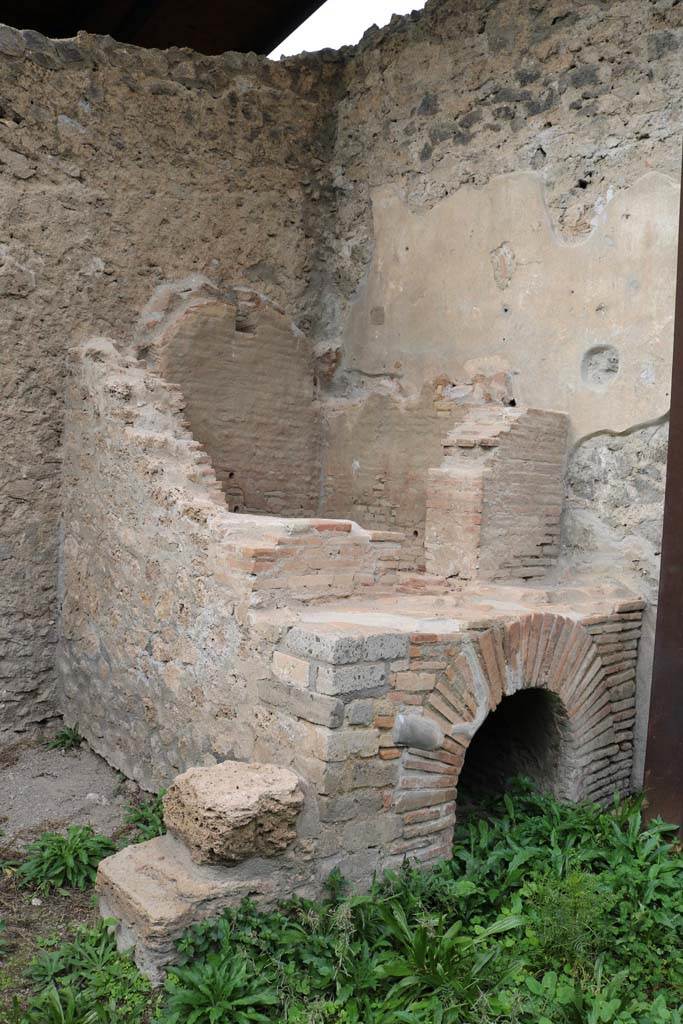
I.20.3 Pompeii. December 2018.
Looking west to oven in north-west corner of rear room. Photo courtesy of Aude Durand.
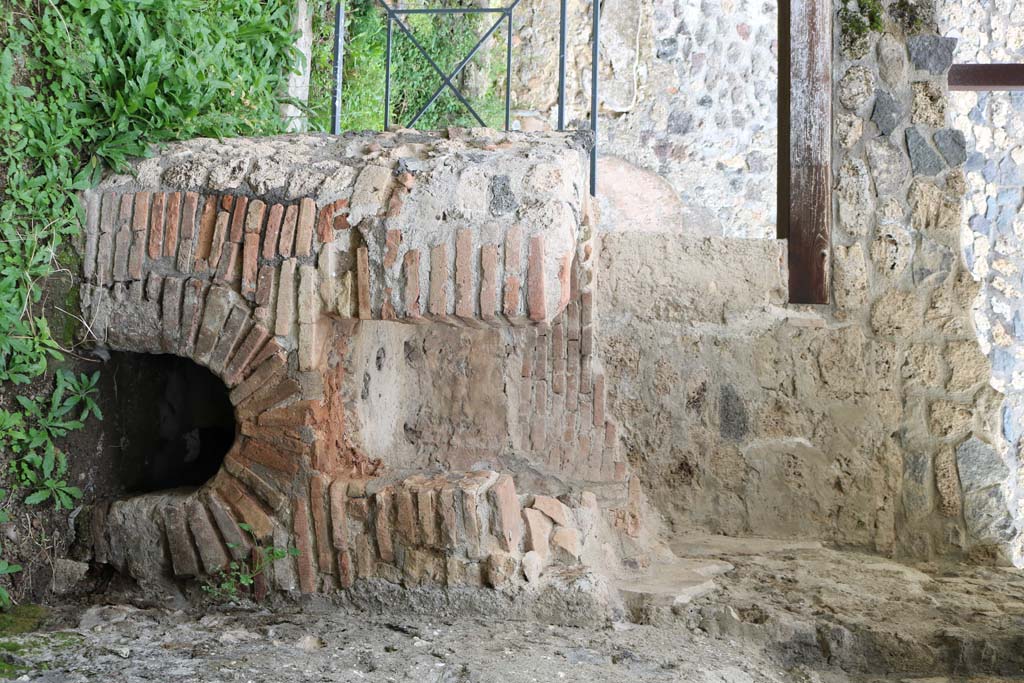
I.20.3 Pompeii October 2022. Detail of masonry oven. Photo courtesy of Klaus Heese.
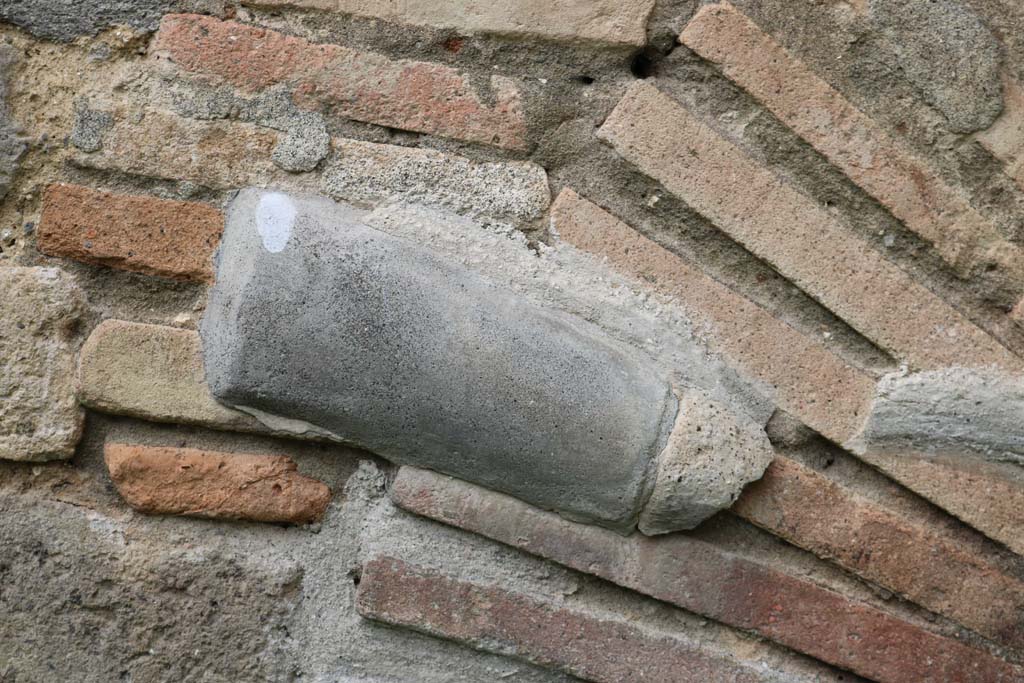
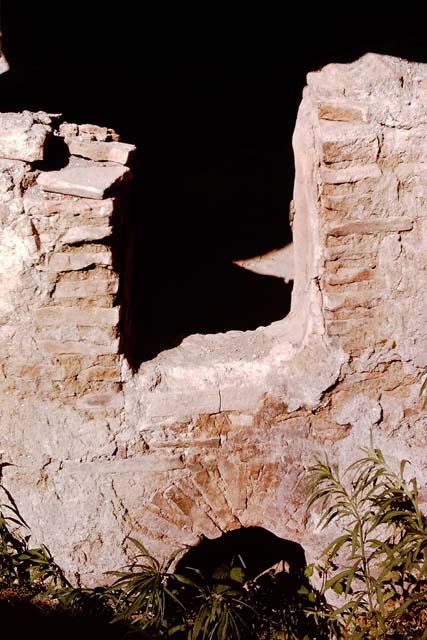
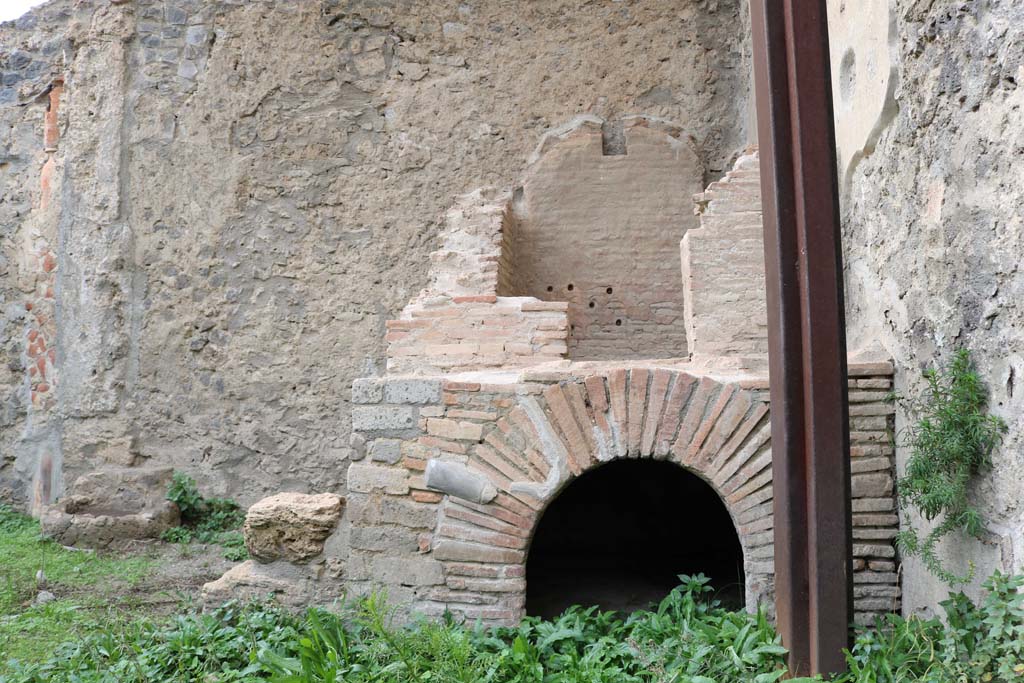
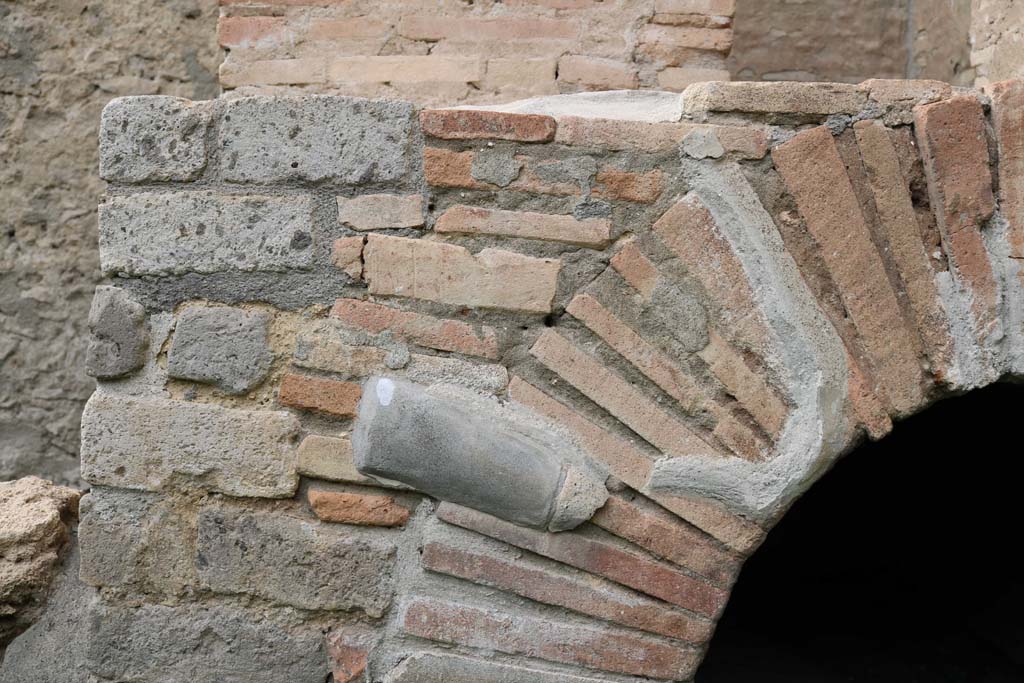
I.20.3 Pompeii. December 2018. Brickwork on east side
(front) of oven. Photo courtesy of Aude Durand.

I.20.3 Pompeii. December 2018. Detail
of front (east side) of oven. Photo
courtesy of Aude Durand.
I.20.3 Pompeii. June 2005. Looking towards oven in north-west corner of rear room. Photo courtesy of Nicolas Monteix.
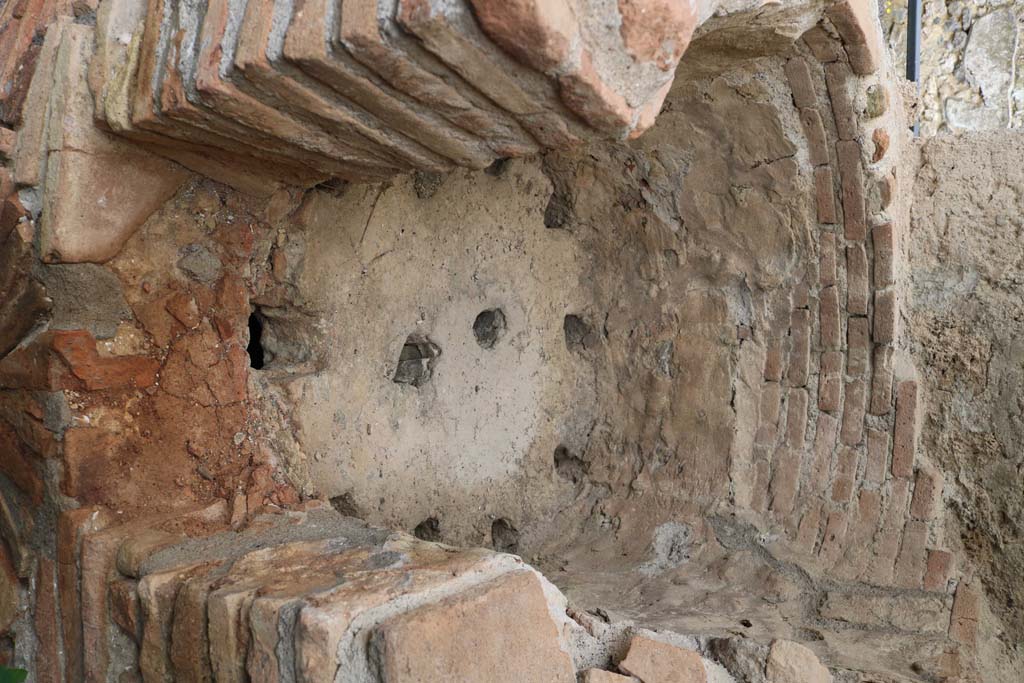
I.20.3 Pompeii. December 2018.
Looking west to interior of oven. Photo
courtesy of Aude Durand.
I.20.3 Pompeii. June 2005. Interior of oven in north-west corner of rear room. Photo courtesy of Nicolas Monteix.
I.20.3 Pompeii. April 1987, oven in rear room during consolidation. Photo courtesy of Guy de la Bedoyere.

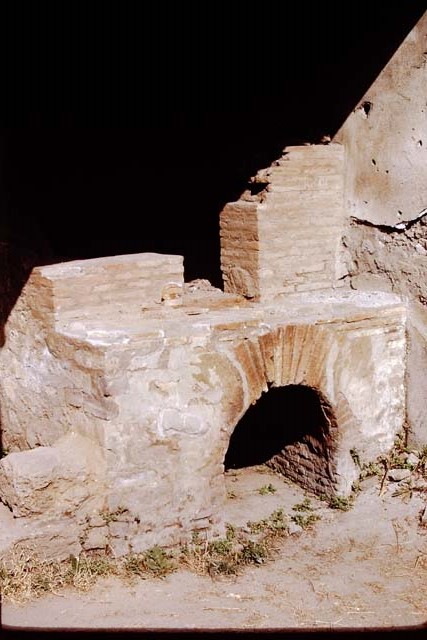
I.20.3 Pompeii. 1972. Oven in rear room. Photo by Stanley A. Jashemski.
Source: The Wilhelmina and Stanley A. Jashemski archive in the University of Maryland Library, Special Collections (See collection page) and made available under the Creative Commons Attribution-Non-Commercial License v.4. See Licence and use details.
J72f0107
I.20.3 Pompeii October 2022.
Looking west from entrance doorway. Photo courtesy of Klaus Heese.
I.20.3 Pompeii. December 2005. Looking west from entrance doorway.
I.20.3 Pompeii. 1959.
Looking west from entrance doorway. Photo by Stanley A. Jashemski.
Source: The Wilhelmina and Stanley A. Jashemski archive in the University of Maryland Library, Special Collections (See collection page) and made available under the Creative Commons Attribution-Non-Commercial License v.4. See Licence and use details.
J59f0496
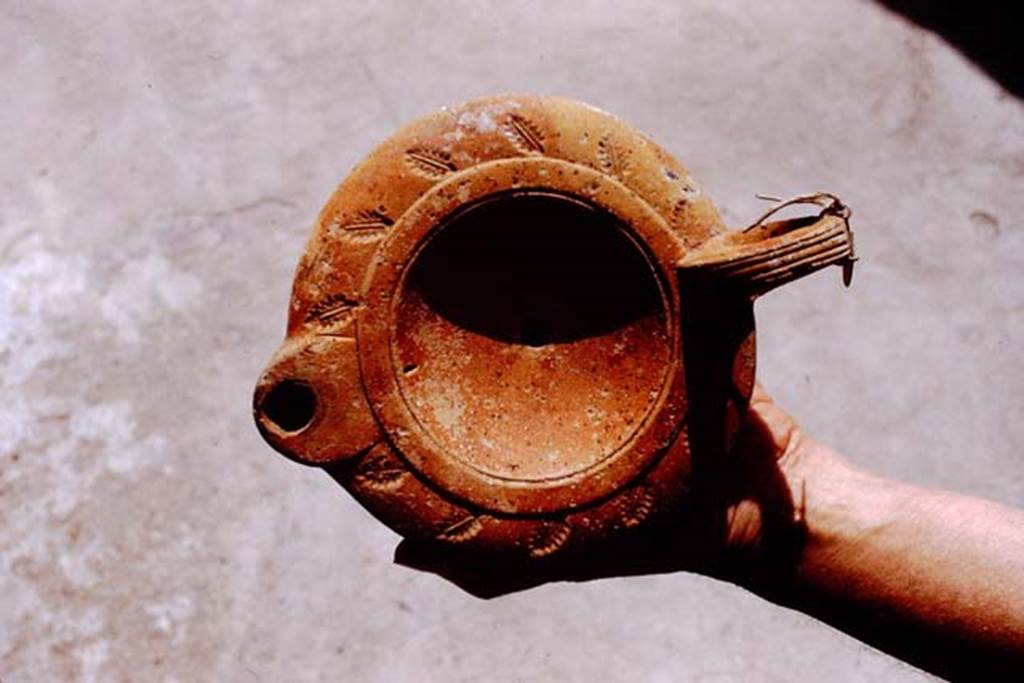
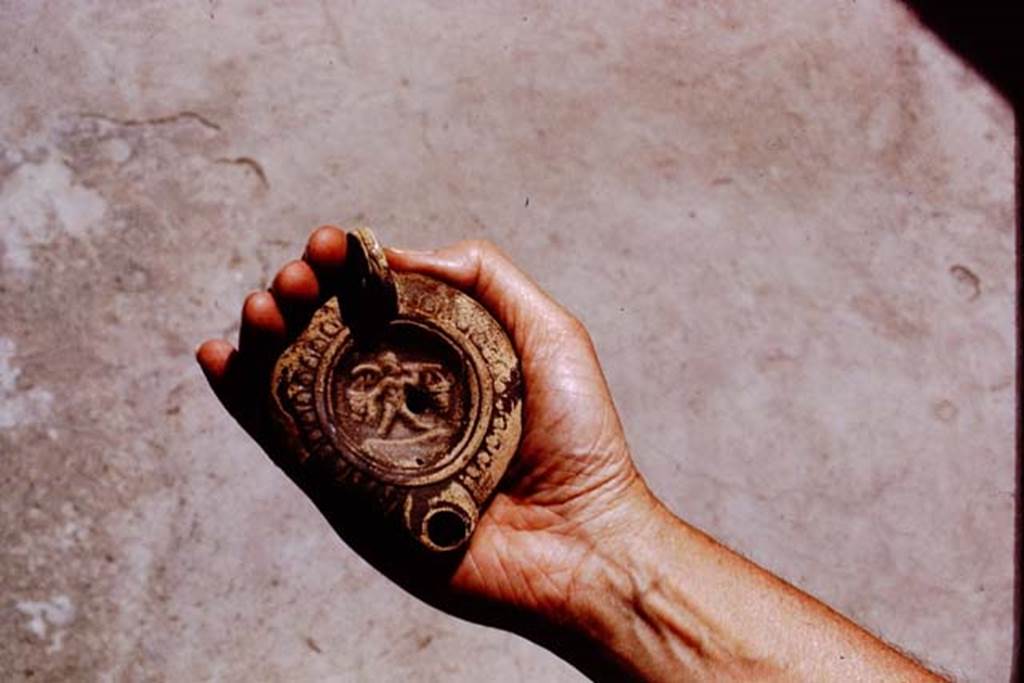
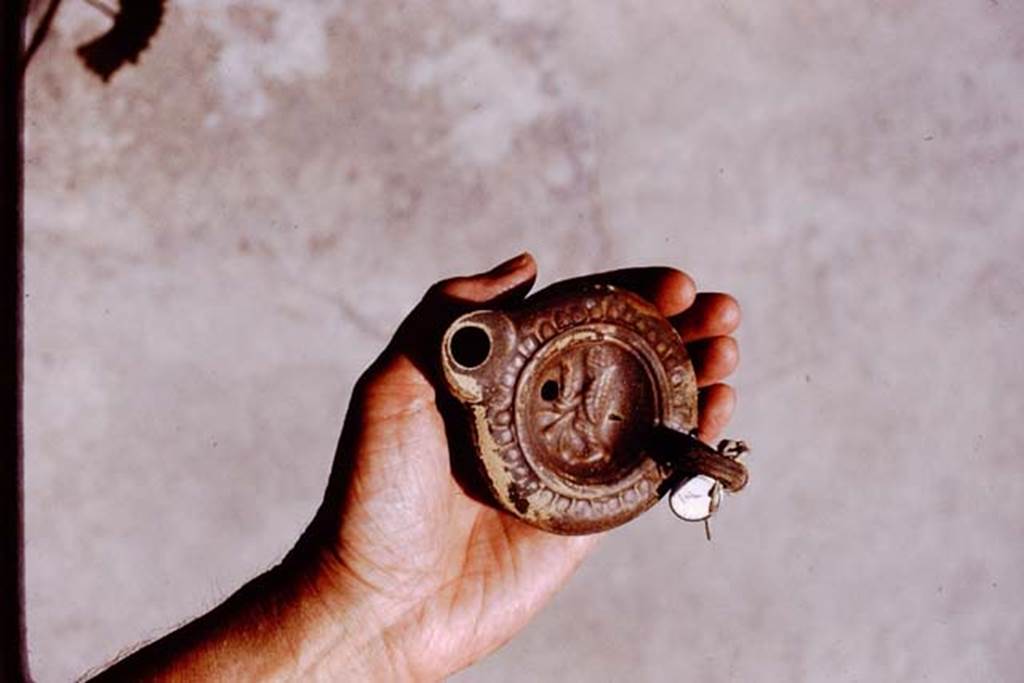
I.20.3 Pompeii. 1972. Example of type of lamp found here. Photo by Stanley A. Jashemski.
Source: The Wilhelmina and Stanley A. Jashemski archive in the University of Maryland Library, Special Collections (See collection page) and made available under the Creative Commons Attribution-Non-Commercial License v.4. See Licence and use details.
J72f0114
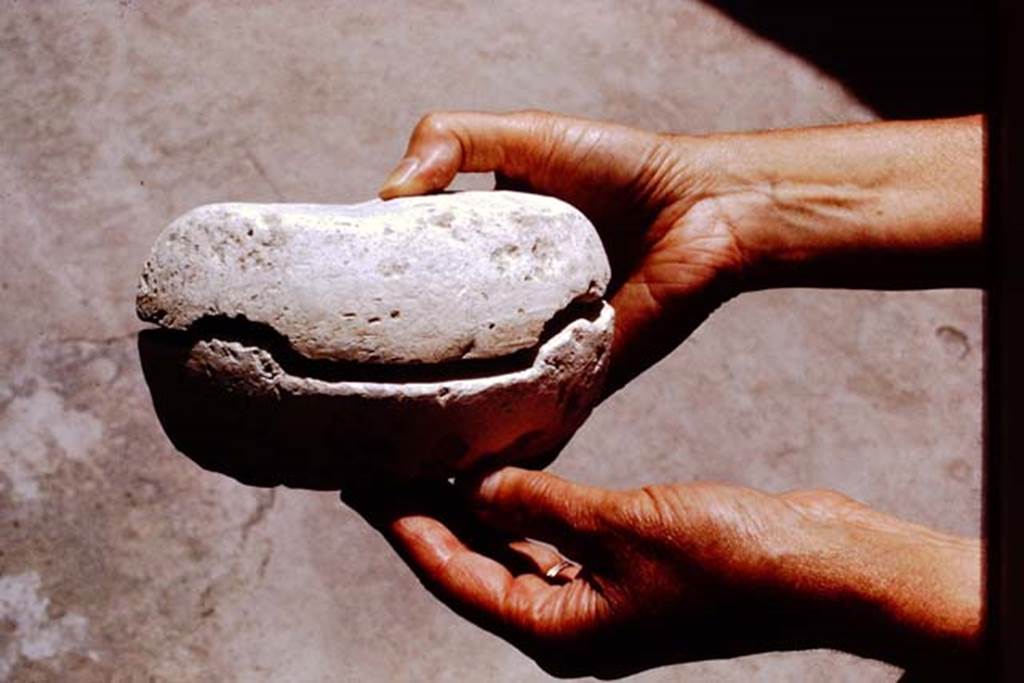
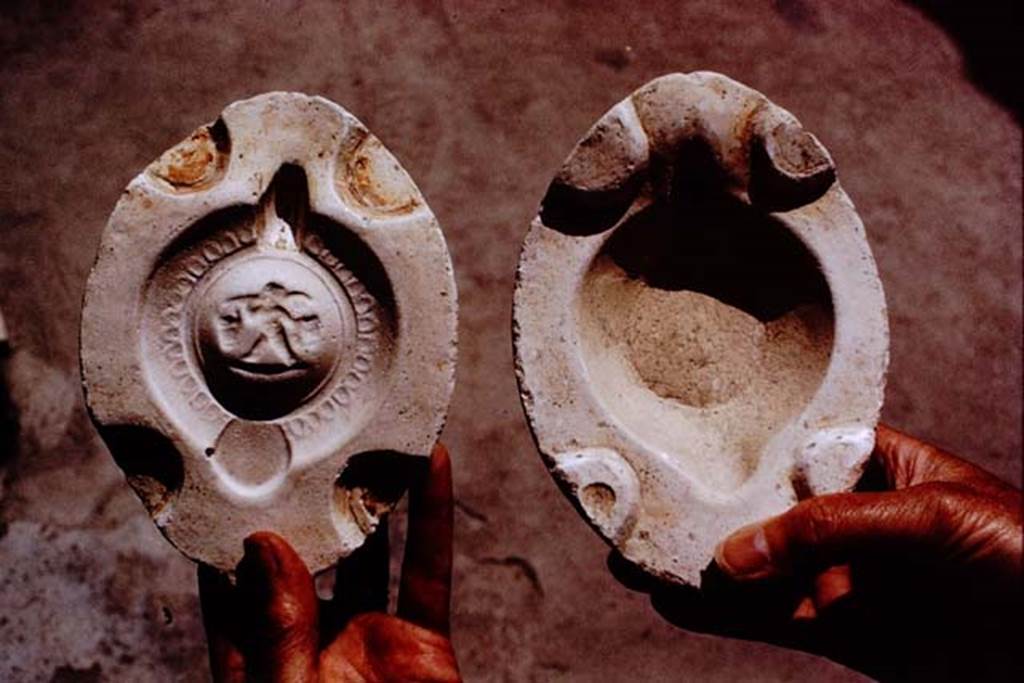
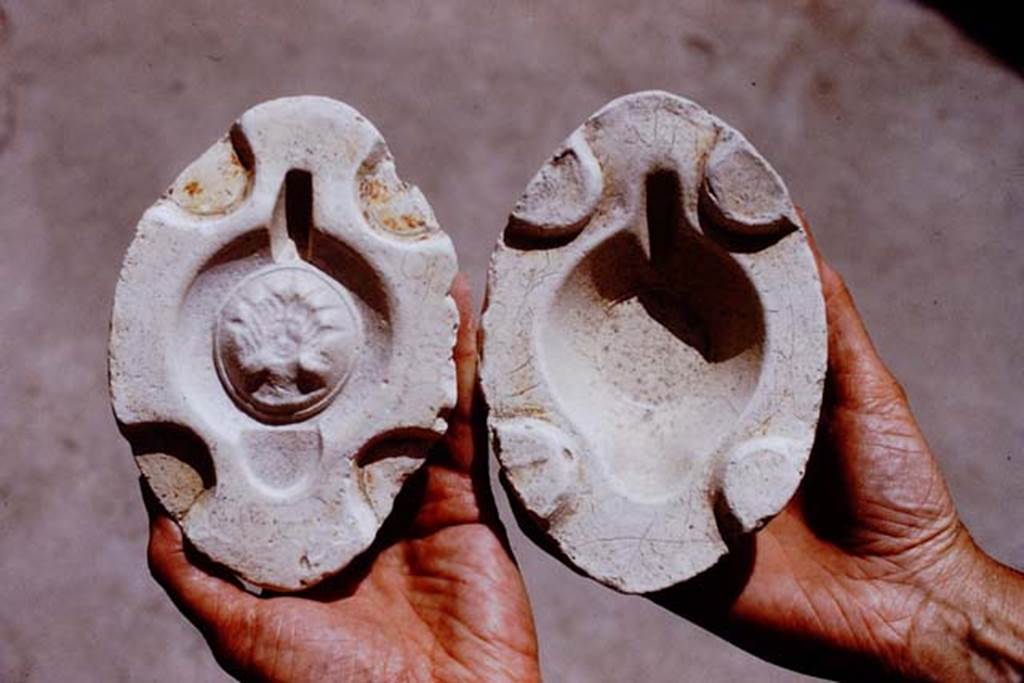
I.20.3 Pompeii. 1972. Example of two-halves of a mould, used to make the lamps found here. Photo by Stanley A. Jashemski.
Source: The Wilhelmina and Stanley A. Jashemski archive in the University of Maryland Library, Special Collections (See collection page) and made available under the Creative Commons Attribution-Non-Commercial License v.4. See Licence and use details.
J72f0116
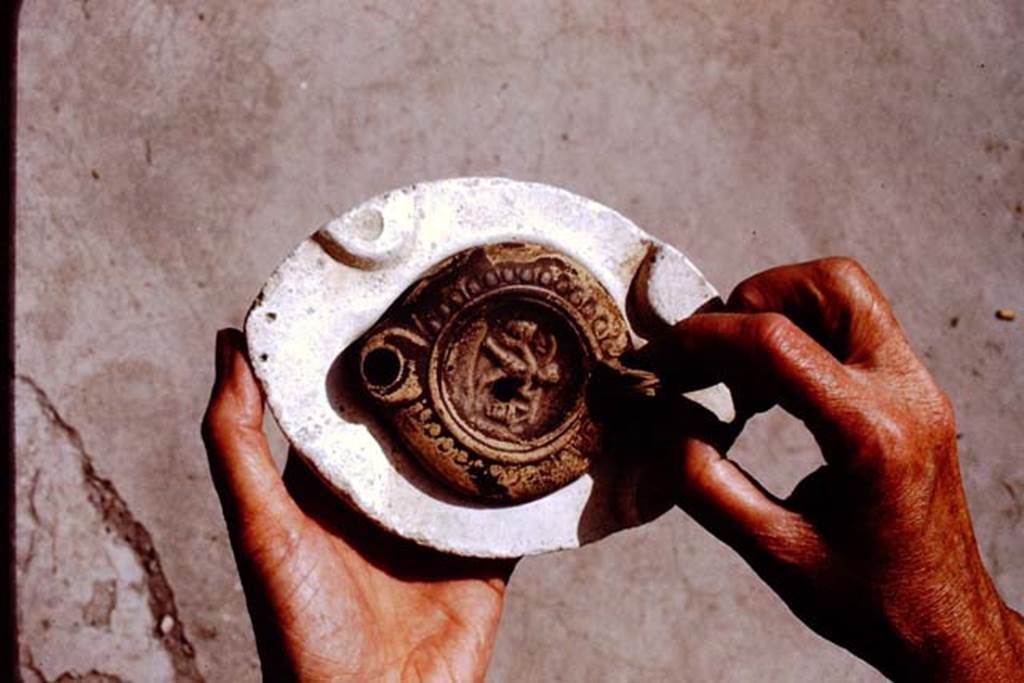
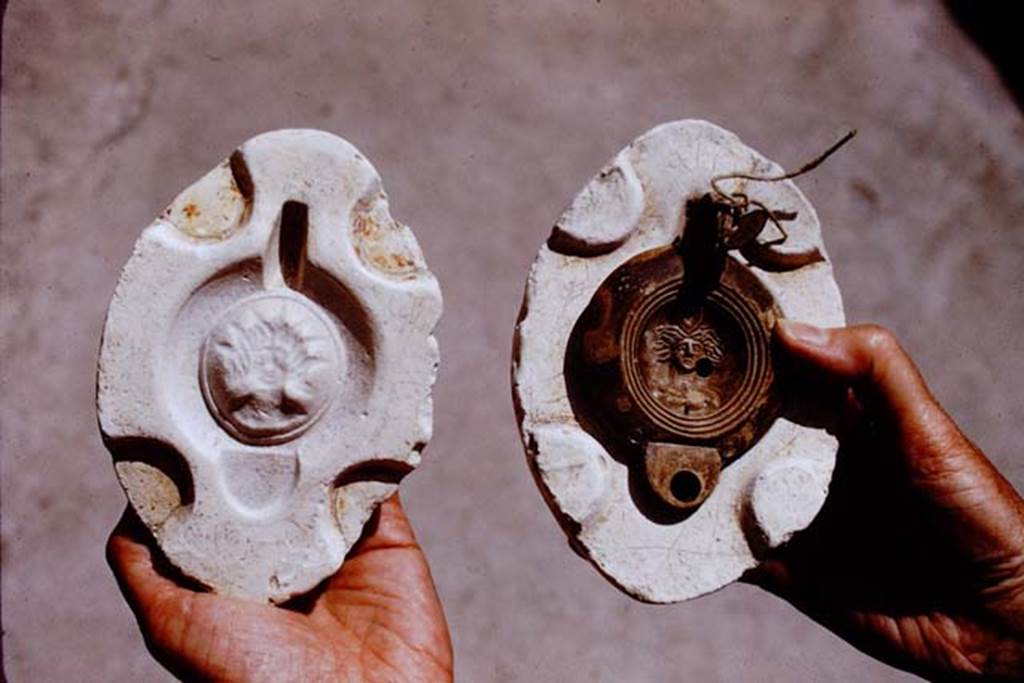
I.20.3 Pompeii. 1972. Example of lamp in a mould. Photo by Stanley A. Jashemski.
Source: The Wilhelmina and Stanley A. Jashemski archive in the University of Maryland Library, Special Collections (See collection page) and made available under the Creative Commons Attribution-Non-Commercial License v.4. See Licence and use details.
J72f0115
I.20.3 Pompeii. 1972.
Example of Wilhelmina’s favourite lamp - showing a small cupid carrying two huge baskets of produce, perhaps grapes, hanging from a pole resting on his shoulders.
Photo by Stanley A. Jashemski.
Source: The Wilhelmina and Stanley A. Jashemski archive in the University of Maryland Library, Special Collections (See collection page) and made available under the Creative Commons Attribution-Non-Commercial License v.4. See Licence and use details.
J72f0117
I.20.3 Pompeii. 1972. Interior of the mould that would have made the lamp with the small cupid. Photo by Stanley A. Jashemski.
Source: The Wilhelmina and Stanley A. Jashemski archive in the University of Maryland Library, Special Collections (See collection page) and made available under the Creative Commons Attribution-Non-Commercial License v.4. See Licence and use details.
J72f0118
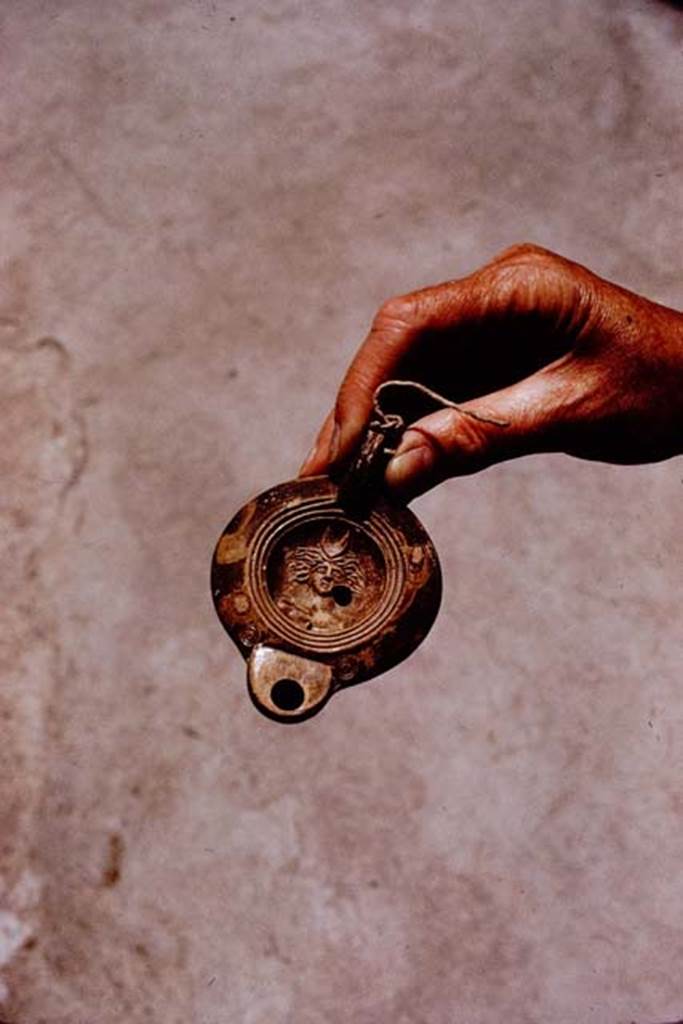
I.20.3 Pompeii. 1972. Another lamp found here. Photo by Stanley A. Jashemski.
Source: The Wilhelmina and Stanley A. Jashemski archive in the University of Maryland Library, Special Collections (See collection page) and made available under the Creative Commons Attribution-Non-Commercial License v.4. See Licence and use details.
J72f0119
I.20.3 Pompeii. 1972. Lamp in its mould. Photo by Stanley A. Jashemski.
Source: The Wilhelmina and Stanley A. Jashemski archive in the University of Maryland Library, Special Collections (See collection page) and made available under the Creative Commons Attribution-Non-Commercial License v.4. See Licence and use details.
J72f0120
I.20.3 Pompeii. 1972. Interior of two halves of the mould. Photo by Stanley A. Jashemski.
Source: The Wilhelmina and Stanley A. Jashemski archive in the University of Maryland Library, Special Collections (See collection page) and made available under the Creative Commons Attribution-Non-Commercial License v.4. See Licence and use details.
J72f0121
I.20.3 Pompeii. 1972. Another lamp found here. Photo by Stanley A. Jashemski.
Source: The Wilhelmina and Stanley A. Jashemski archive in the University of Maryland Library, Special Collections (See collection page) and made available under the Creative Commons Attribution-Non-Commercial License v.4. See Licence and use details.
J72f0122